Stories — Ahearne Cycles

Ahearne Cycles

Joseph Ahearne

How Ahearne Became Ahearne Cycles

Joseph Ahearne6 Comments
Rotated stainless logo 2.jpeg

What Not to Name Your Bikes

When I first started building bikes, I wasn’t doing it for the business of it. I didn’t know or even think about creating a brand. I did it because I wanted to make cool stuff, to play with fire and steel. But a year or so in, after having made several bikes (for the cost of tubes — my labor mostly free), and custom racks, I needed to figure out something to call my bikes. A brand was forming, whether I wanted to admit it or not. I most loved the look of the un-branded bike — no language at all on the parts or the frame. But the idea that someone would pay me for a bicycle I built with my own hands was a revelation that was beginning to dawn. Just amazing, I thought. But I needed some way for people to to find me, to find know my work. I needed to name my bikes, and name my business. It seems so obvious now, and so easy, but holy hell, that was one of the most difficult decisions of my life. 

Hand made bikes are traditionally branded with the name of the builder. In the 1980s & 90s, as the industry grew in the USA, mainly because of the rise in popularity of mountain biking, the way of naming bike brands shifted, becoming more like that of cars — naming them for “things” rather than the people who made them. 

Of course, naming bikes after people continued, but what were bicycle business owners to do if their names didn’t lend themselves to bicycle branding? Often bike branding includes elements of what is “cool,” or somehow implies speed or strength. But what were you to do if your last name was something average, pedestrian, or was in competition with other brand names? For example, what if your last name was Smith, and you had to compete with a much larger maker of eyewear? Or what if your name was Johnson? Who could keep a straight face when asked what kind of bike they ride?

“Oh, I ride a Johnson.” 

Hm, I bet you do. You can see how well this might go over with weekend warriors and racer A-types out to conquer the competition, all muscle-hustle and panting in their spandex.

As a side note, and speaking of Johnsons, if you haven’t seen The Big Lebowski, then I’d suggest you do so in a great hurry, for you are missing out on some classic American cinema. 

As a double side note, in regard to bike names, I did for a moment consider calling my company Nihilist Bikes, although I can’t recall if this name was inspired by the Lebowski film. Abide Bikes, though, definitely was. White Russian Frames & Forks. Dead Donny Bikes. I could keep going. Shall I keep going?

I was so resistant to using my last name. Nothing about the name Ahearne seemed right for bikes. It didn’t point toward anything like speed or strength, royalty, flight, elegance. I felt like there was no ring to it. It has too many vowels; and how was it pronounced, anyway? Accent on the A, or accent on the hearne? (For the record, for my name, accent is on the A. Other people with the same name may pronounce it differently, though. Even within my own family. Call it Irish American confusion, I don’t know…). 

Logo image red.jpeg

Another thing was, I could be insecure when it came to anything that sounded personally boastful, and what could be more boastful than associating my name with a brand, and something I hoped was (or would become) high quality? I was just discovering the nature of the business I was building — I could hardly admit to myself I was building a business at all. But there it was: I wanted to make a product that people would talk about, and want to buy, and calling it by my own name was somehow a lot to ask. It’s a strange and self-defeating insecurity, I know, but I’d be lying if I said it didn’t factor in.

What the name Ahearne had going for it, though, was that it was unique enough in America that I didn’t risk overstepping some boundary with another brand, and it didn’t point at some cultural reference that might embarrass anyone. But still, it just sounded weird to me.  

In my resistance I experimented with a lot of other bike names. I tried Grimace Fabrication, because I frowned a lot, but people told me it reminded them of this purple cartoon character in the fast food world. The Grimace idea went far enough that a friend, Evan, hand cut a couple of Grimace logos from vinyl, kind of graffiti style, and I stuck them on the down tube of at least one bike. Maybe two. Today, thinking about Grimace makes me wince, and then smile, alternately, which is good for toning muscles in the face.  

Another idea I toyed with: When I was born my parents had, for a minute, considered nicknaming me Mojo. I thought, Could this work? Mojo Bicycle Manufacturing, perhaps; or MJM Studios, as another quasi-Hollywood reference. Like the nickname, though, the Mojo idea got quashed. I got called Joey instead. Which, no, never mind.  

I thought about Sour Head Bikes and Apocalypse Bikes. Blank Stare Frames. Fisher Price Bikes (as a decoy). Stolen Bikes, until I learned a BMX company already thought of it. Could I steal it back? Some names just got silly: Pistol Grip Frames; Big Dick Bikes; Monster Attack Custom Fabrication; Sad Life Bikes; And so on. I could do this for hours. 

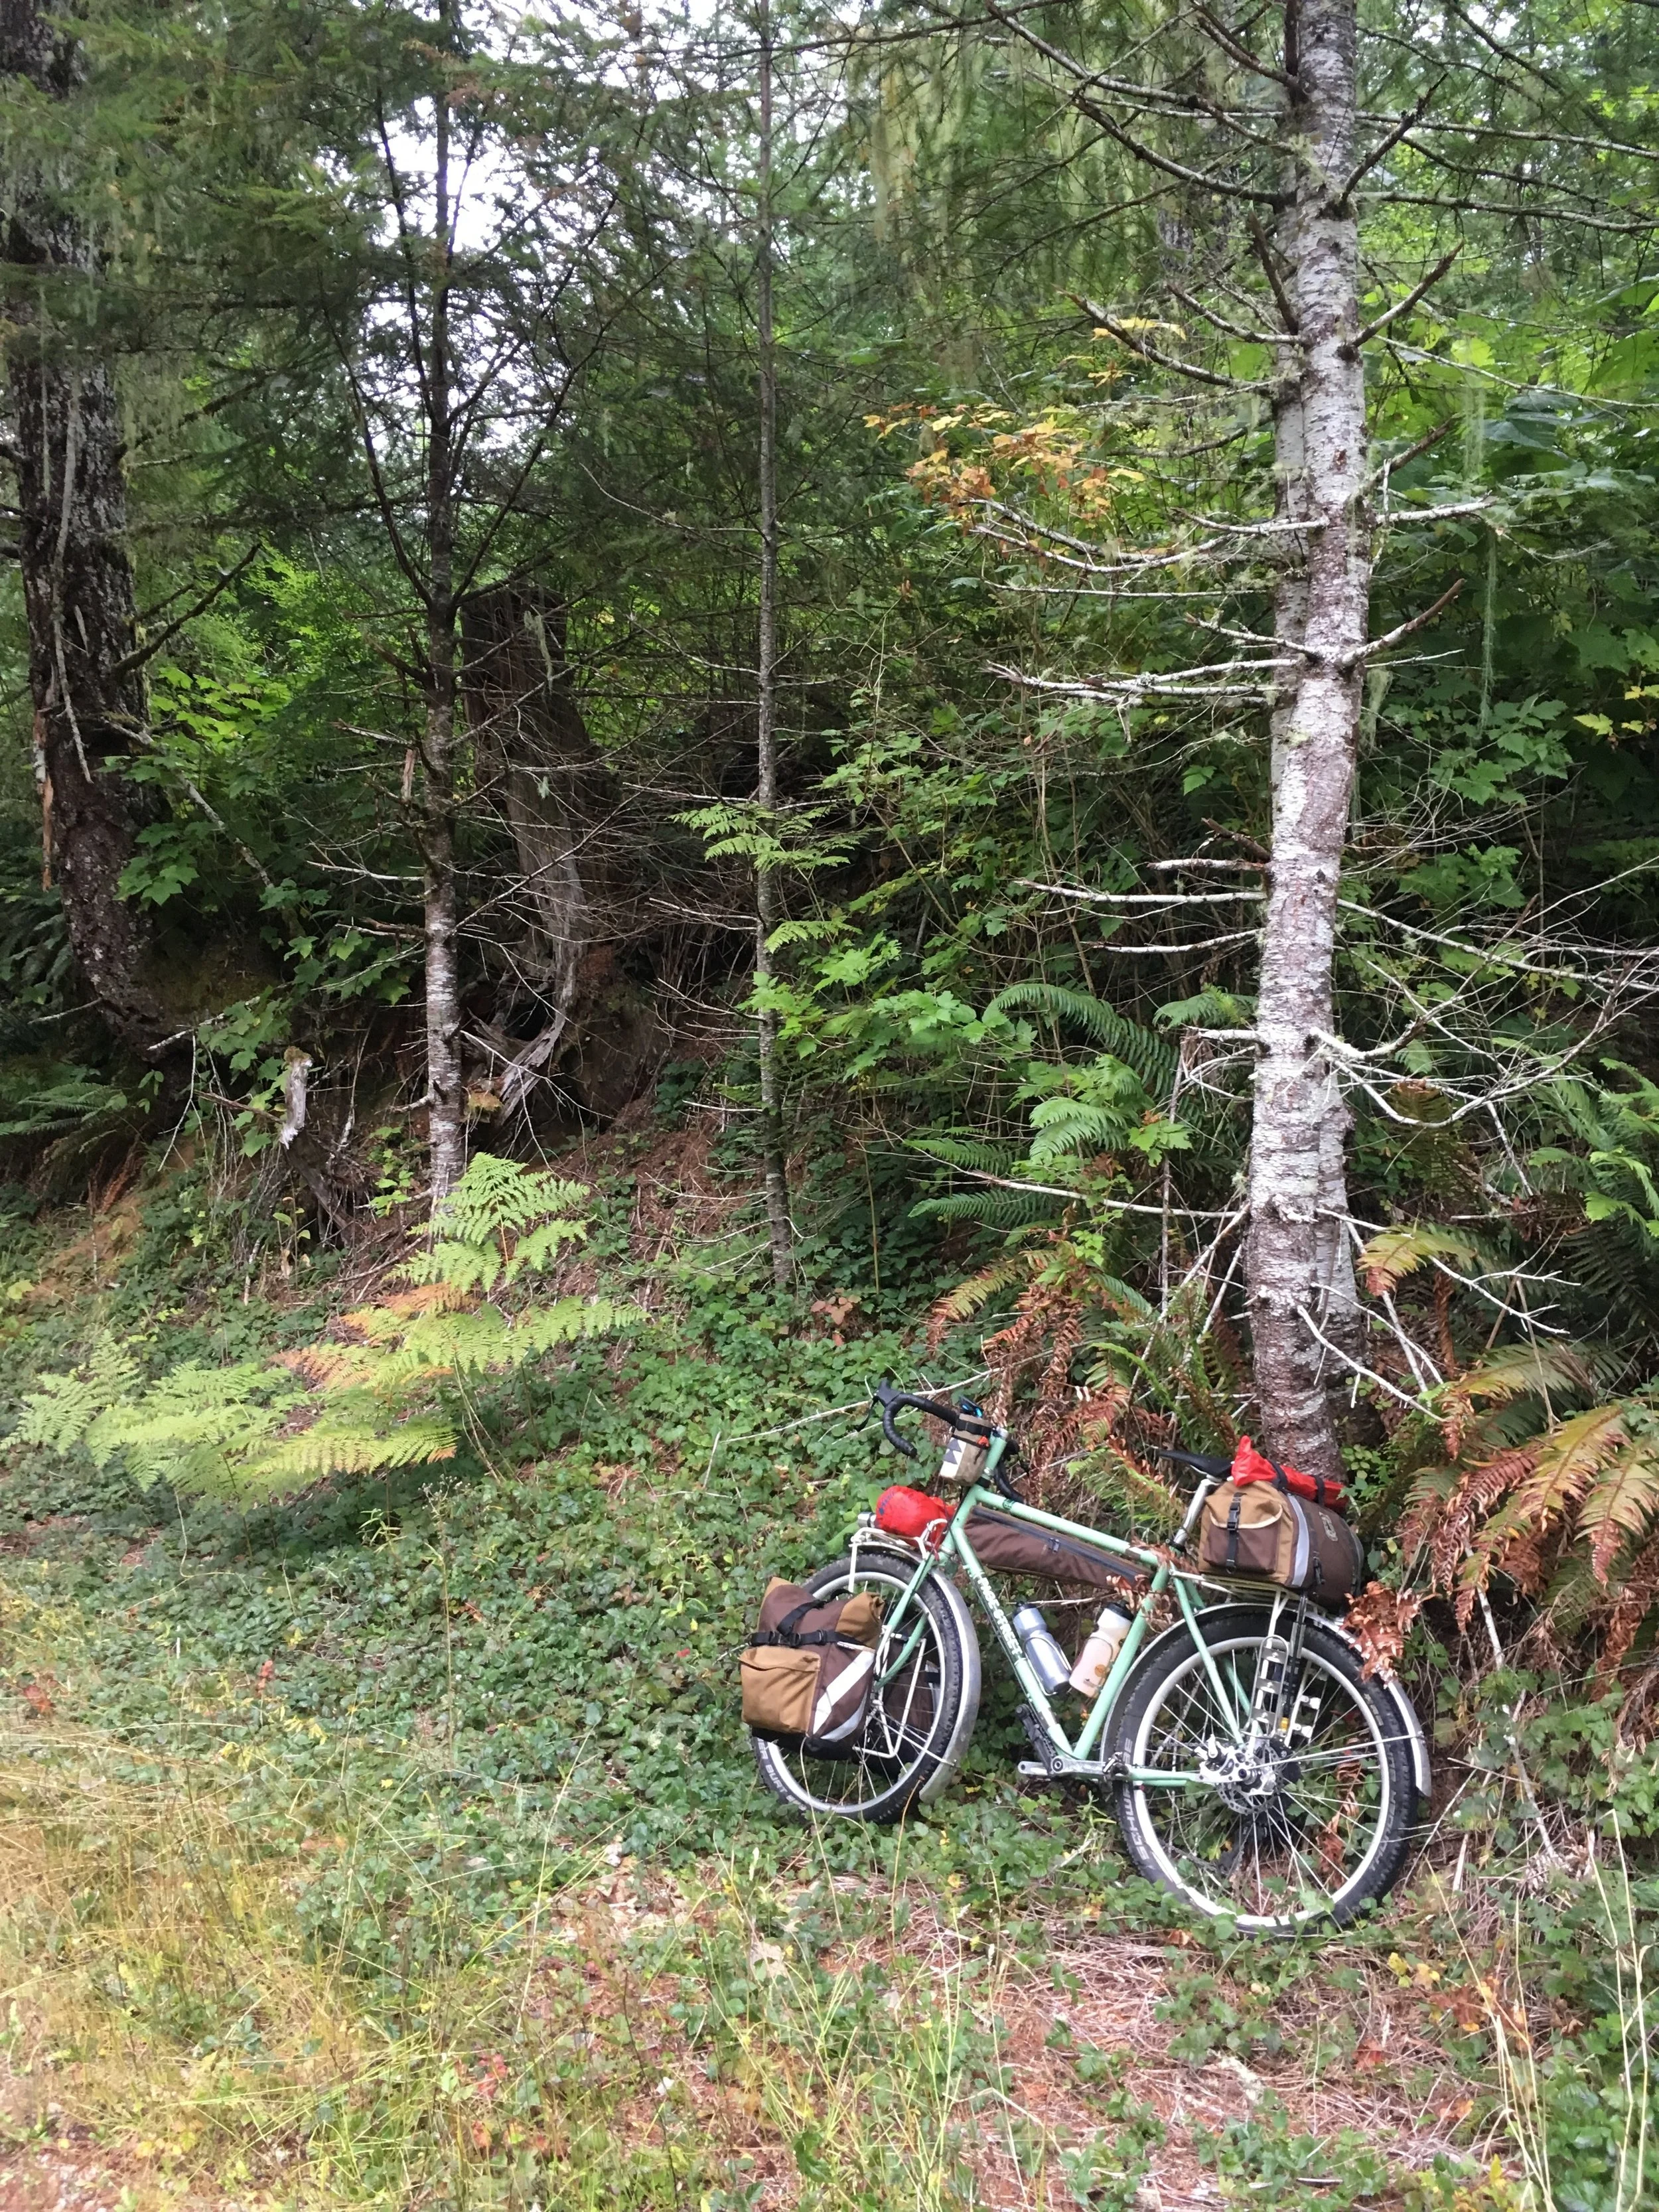
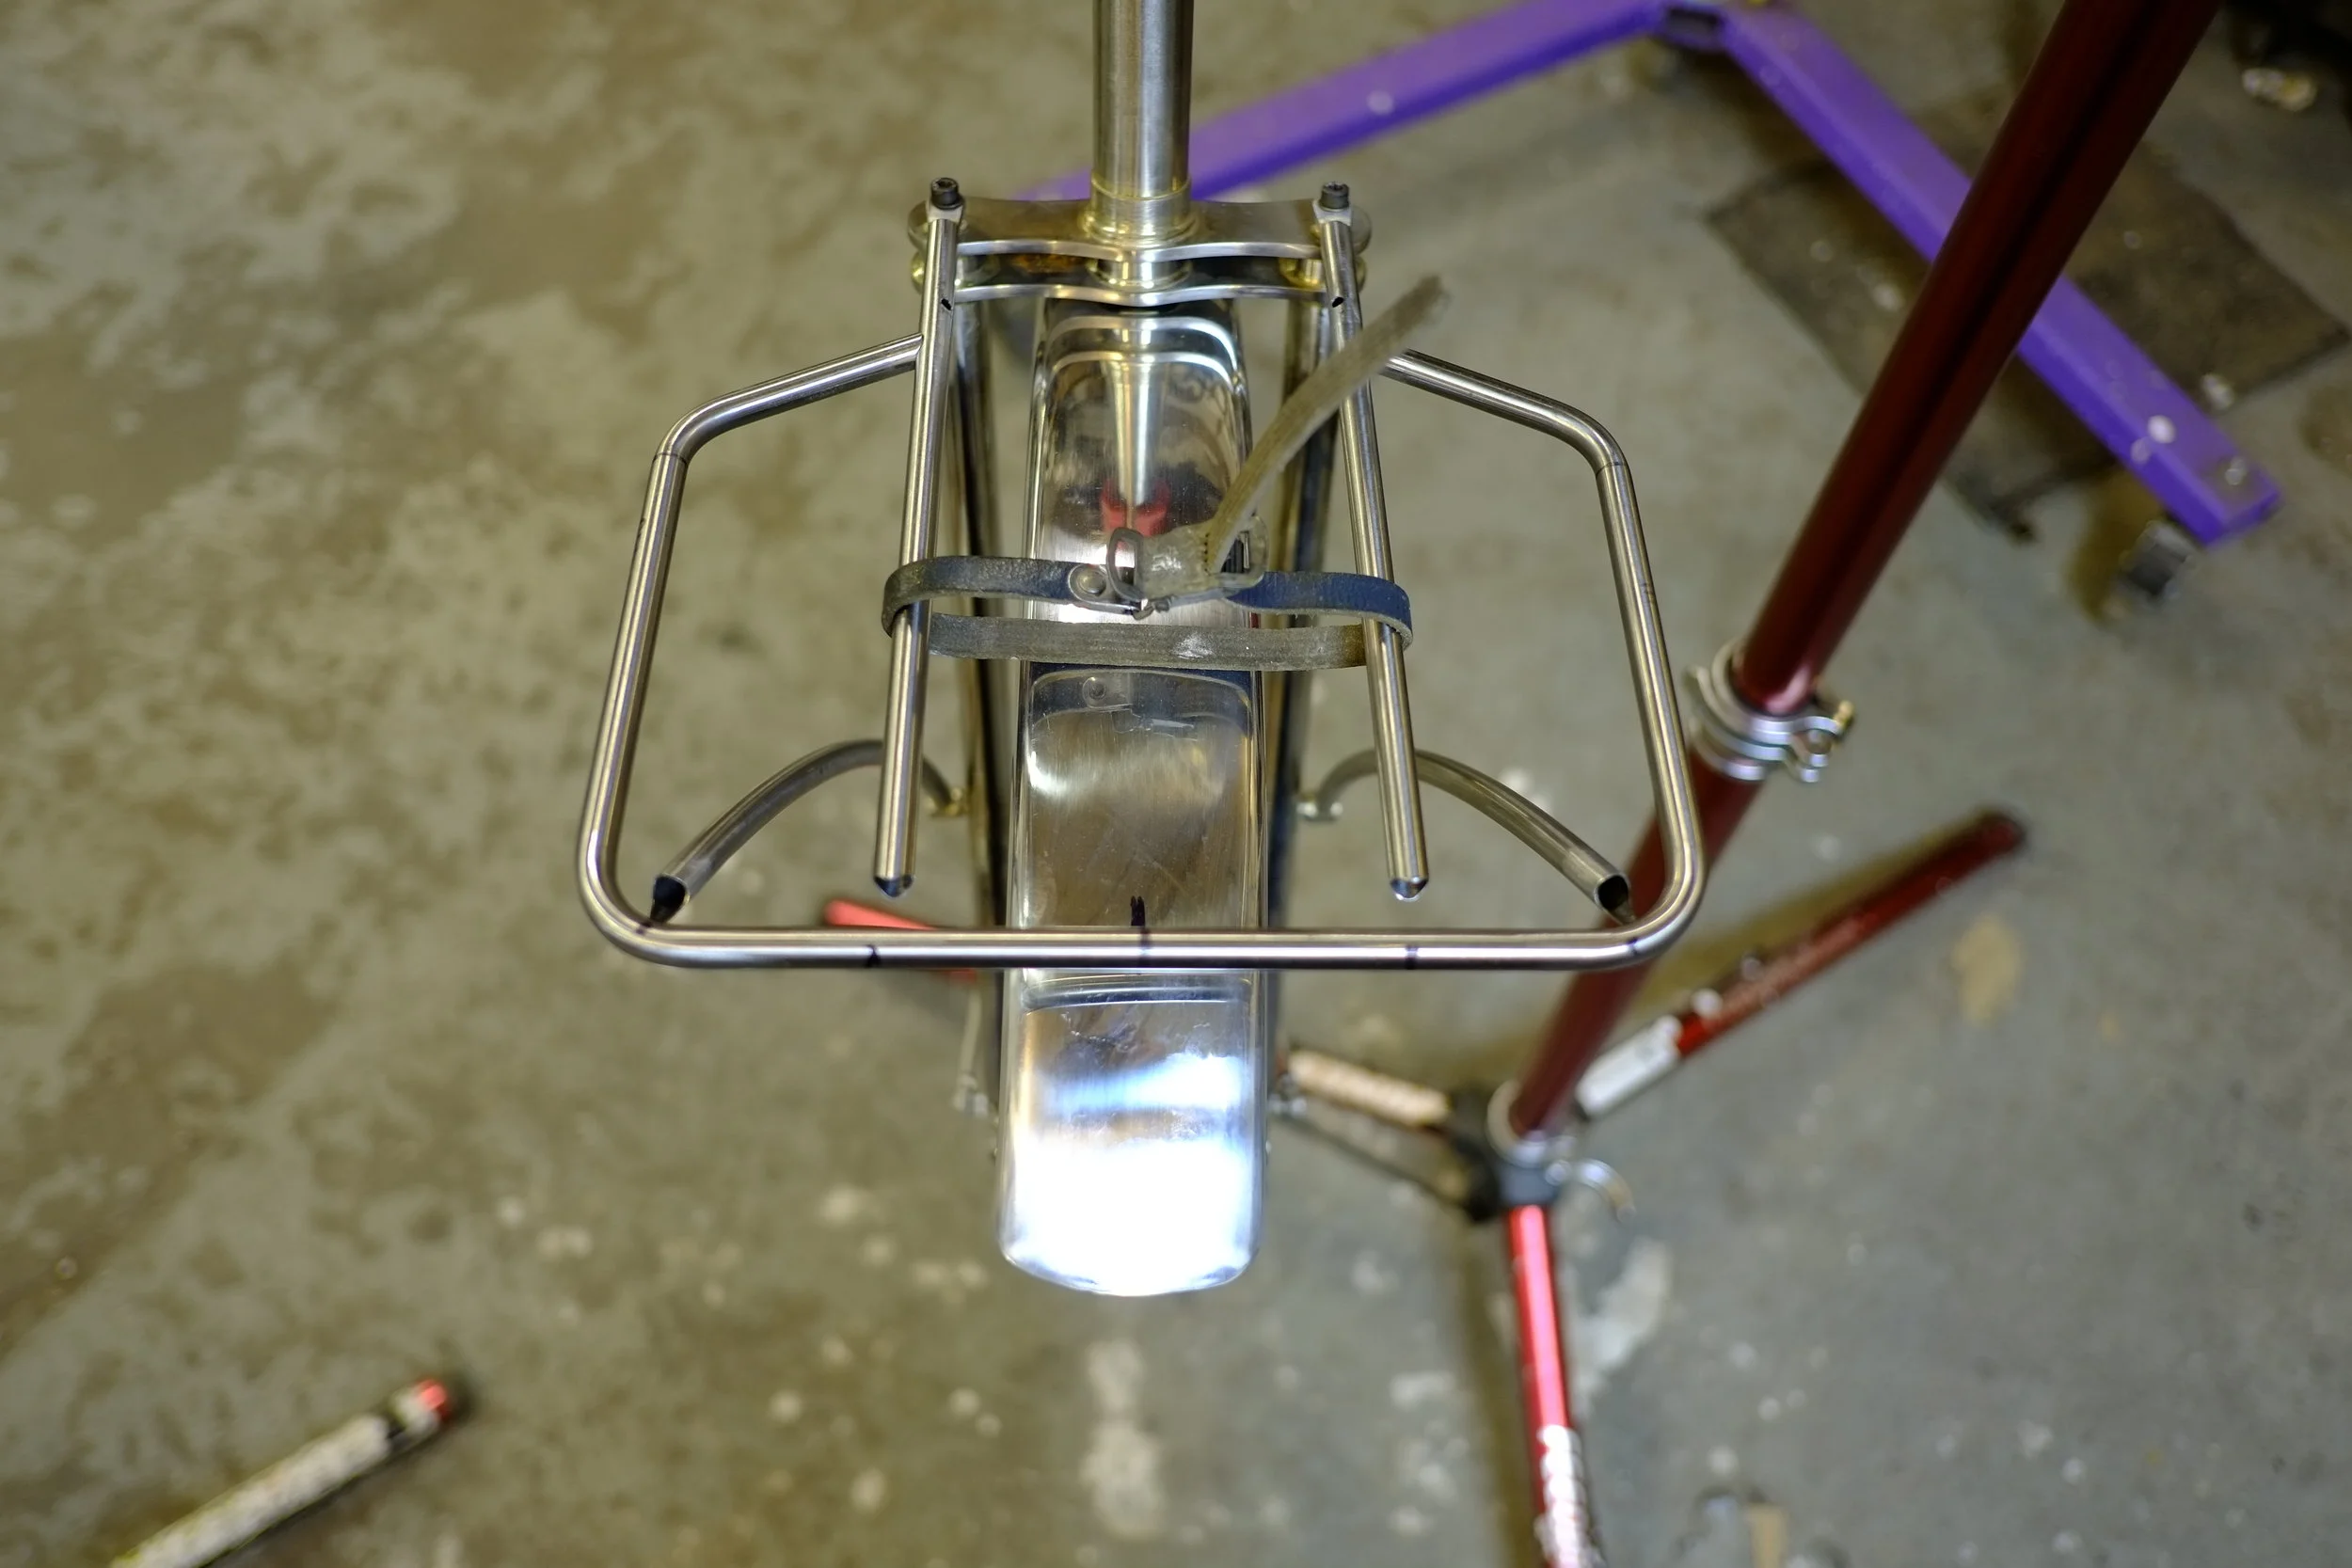
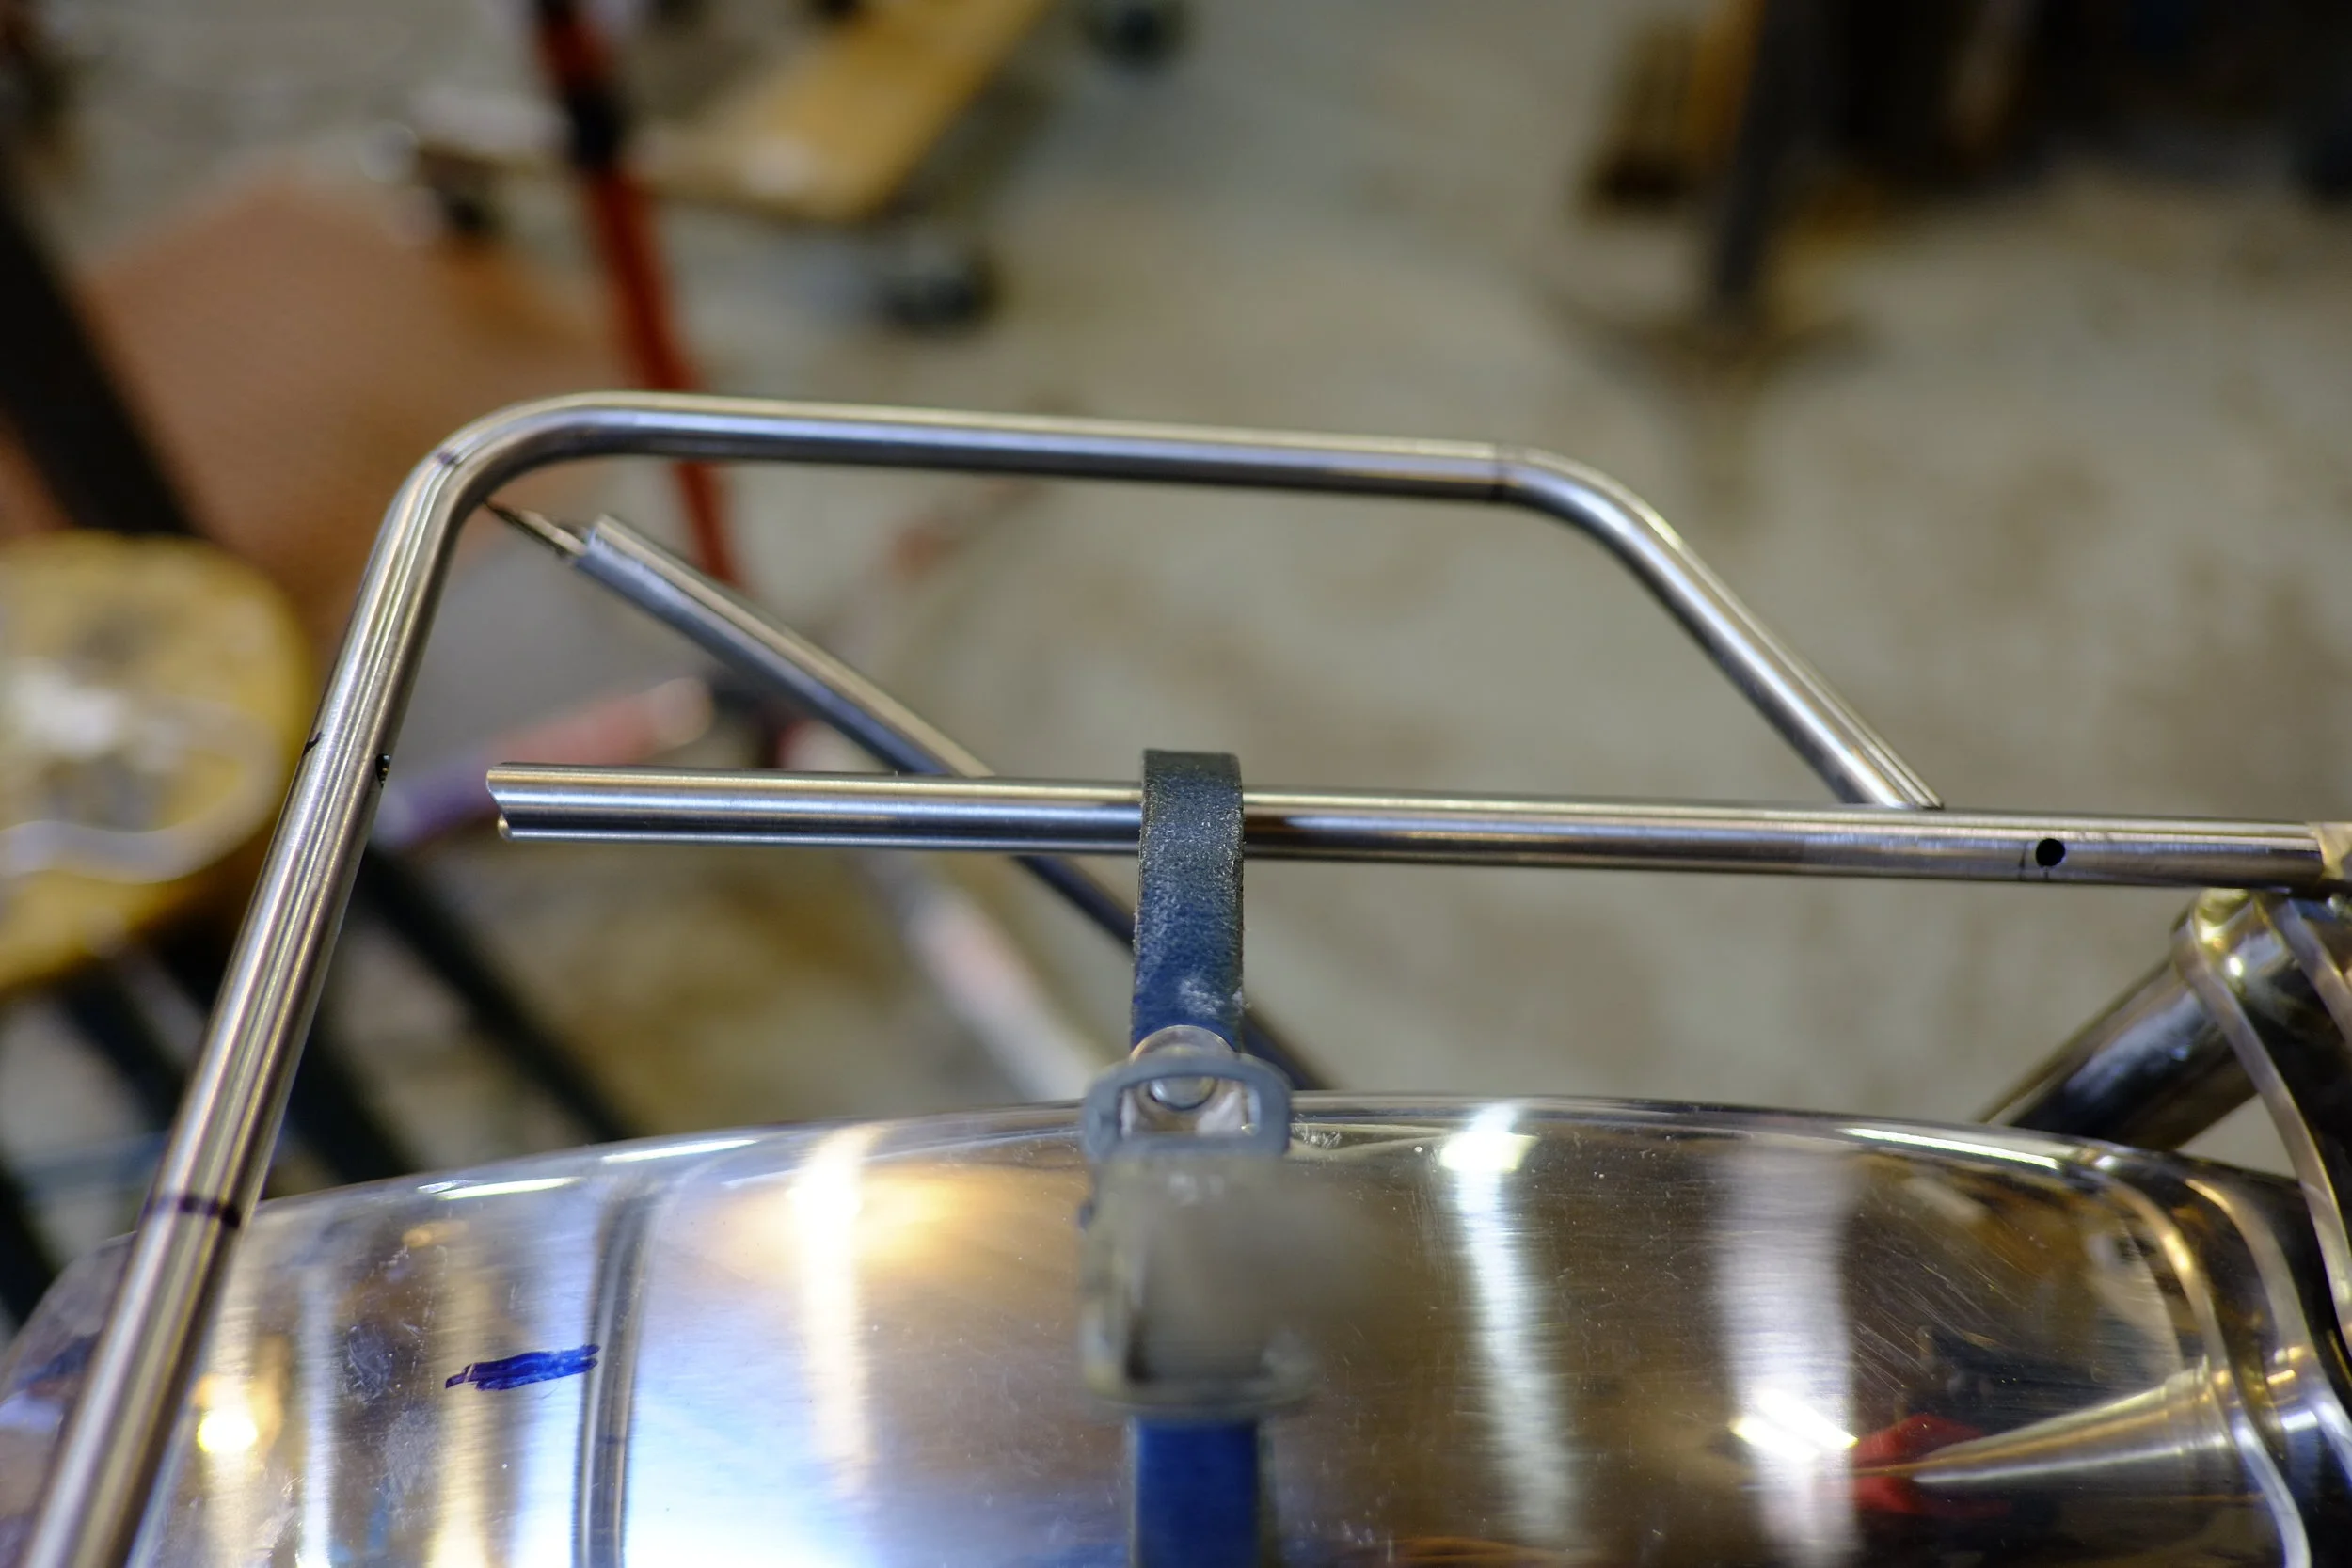
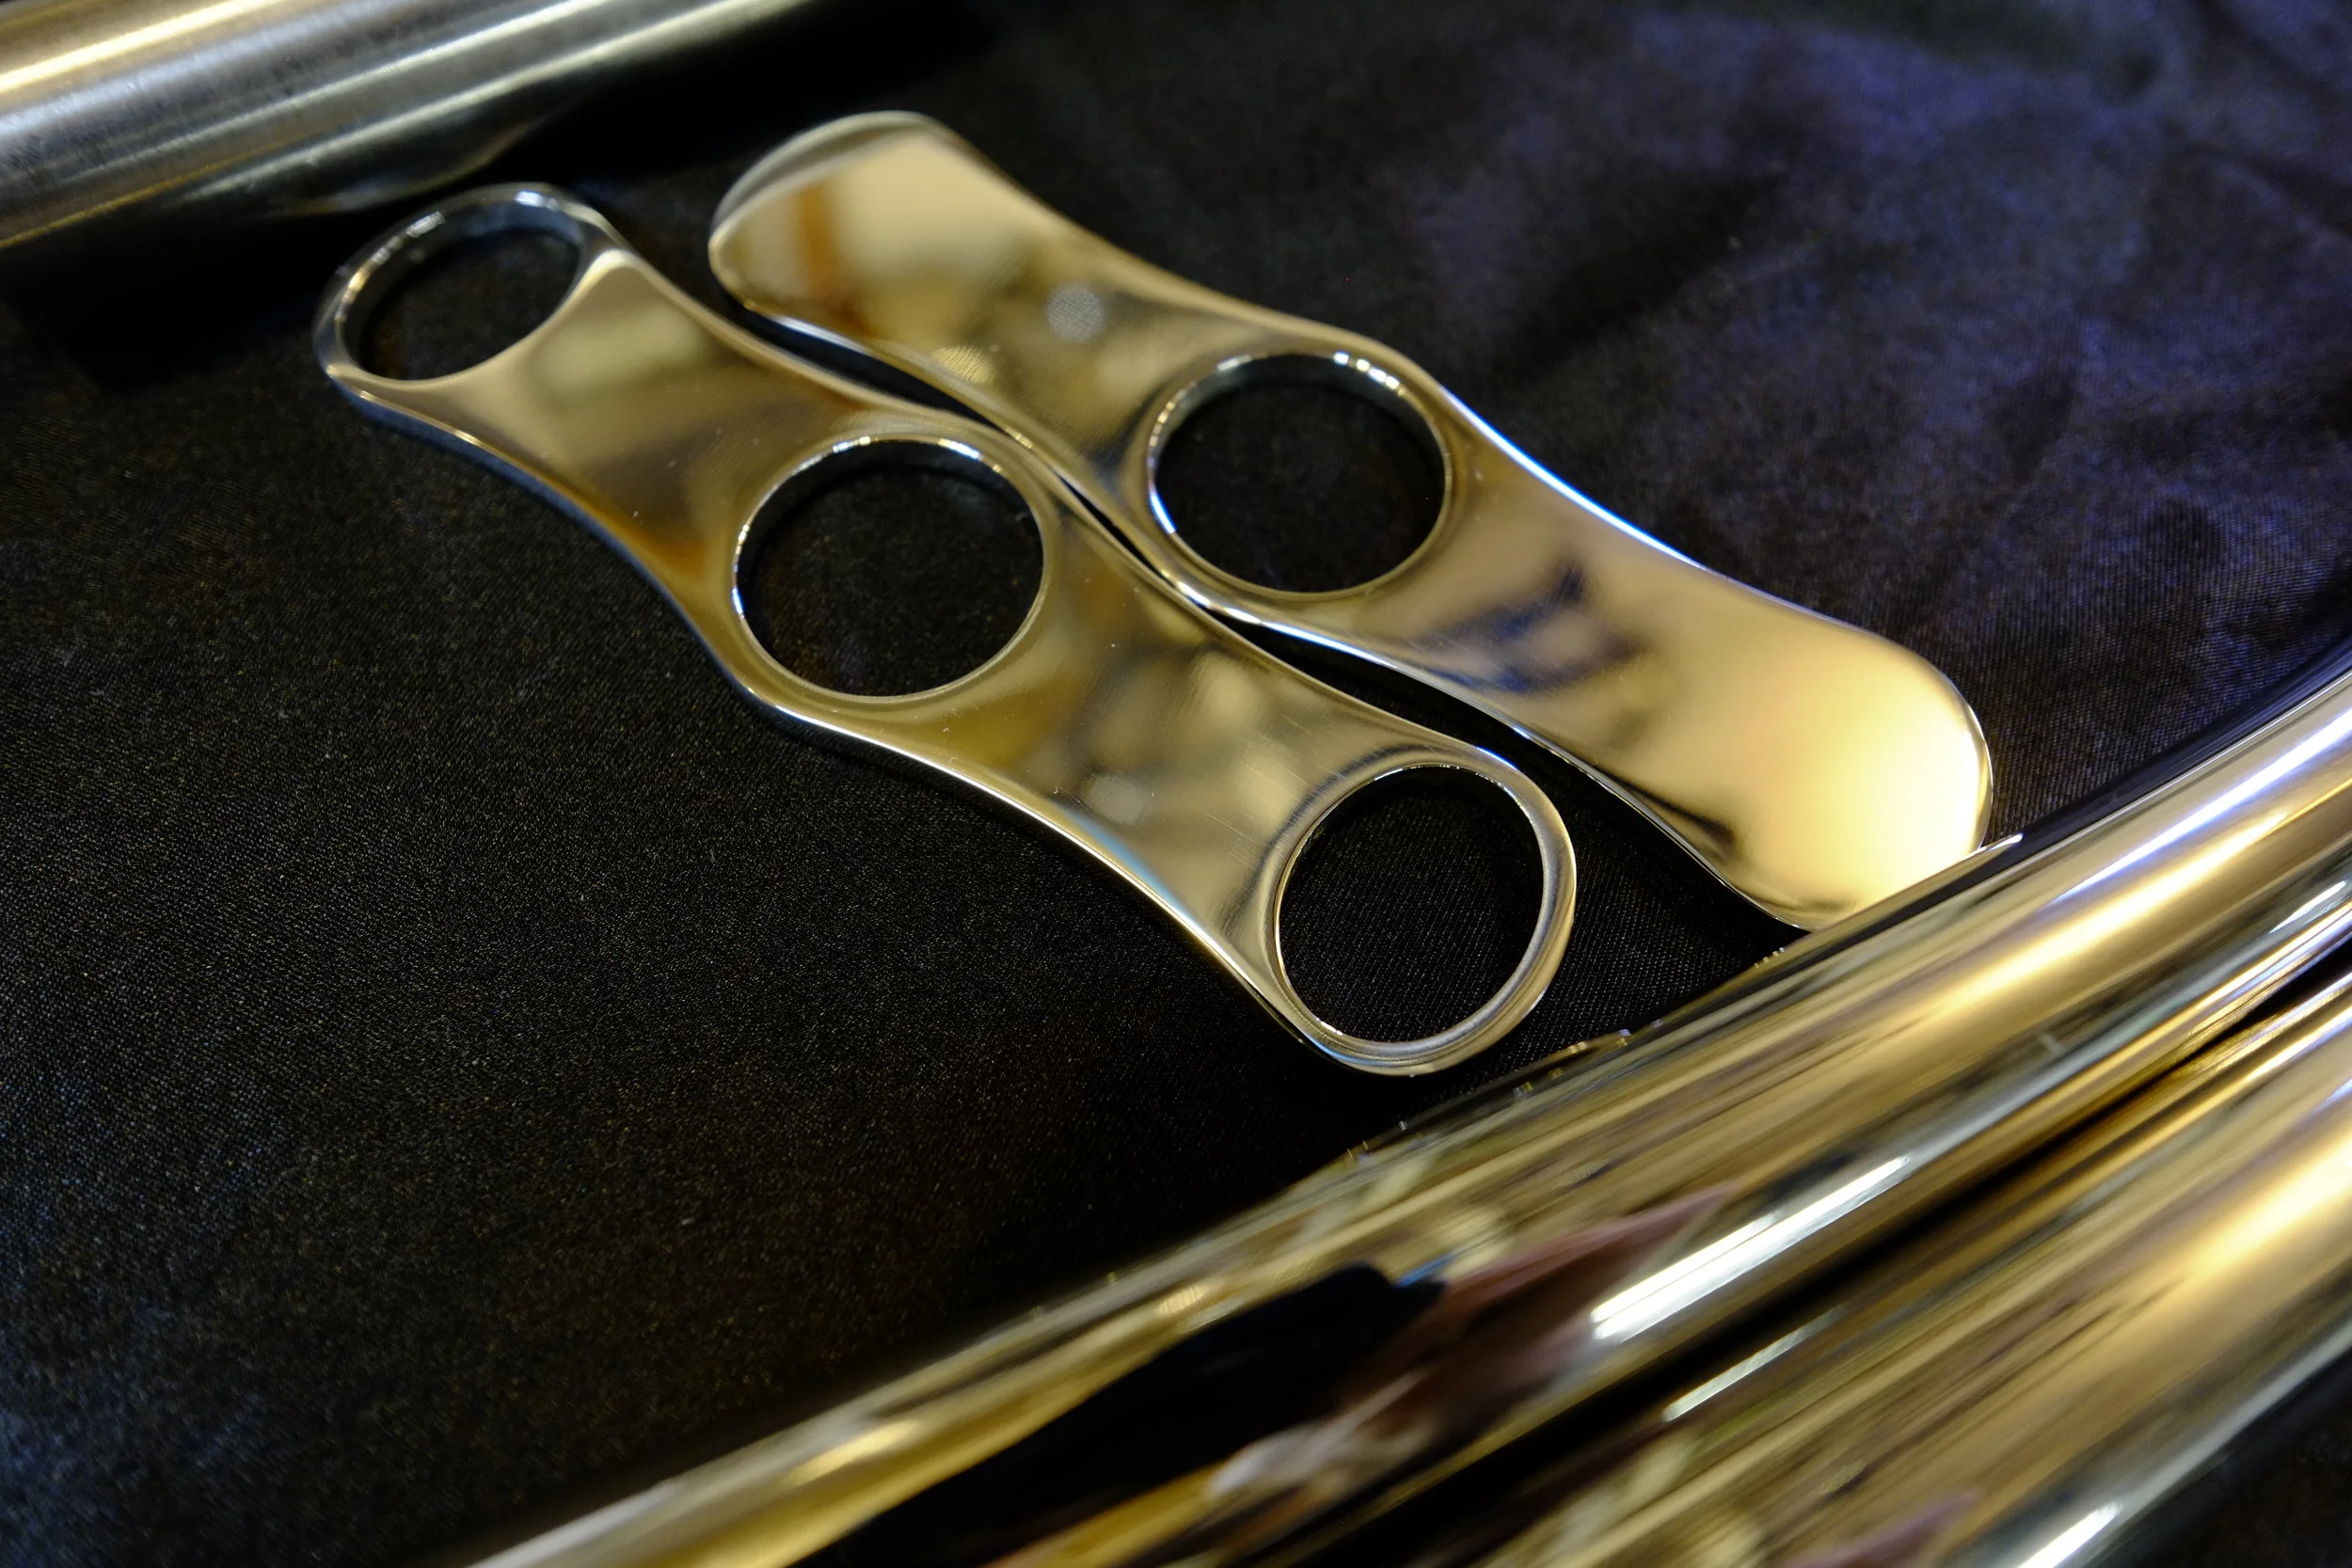
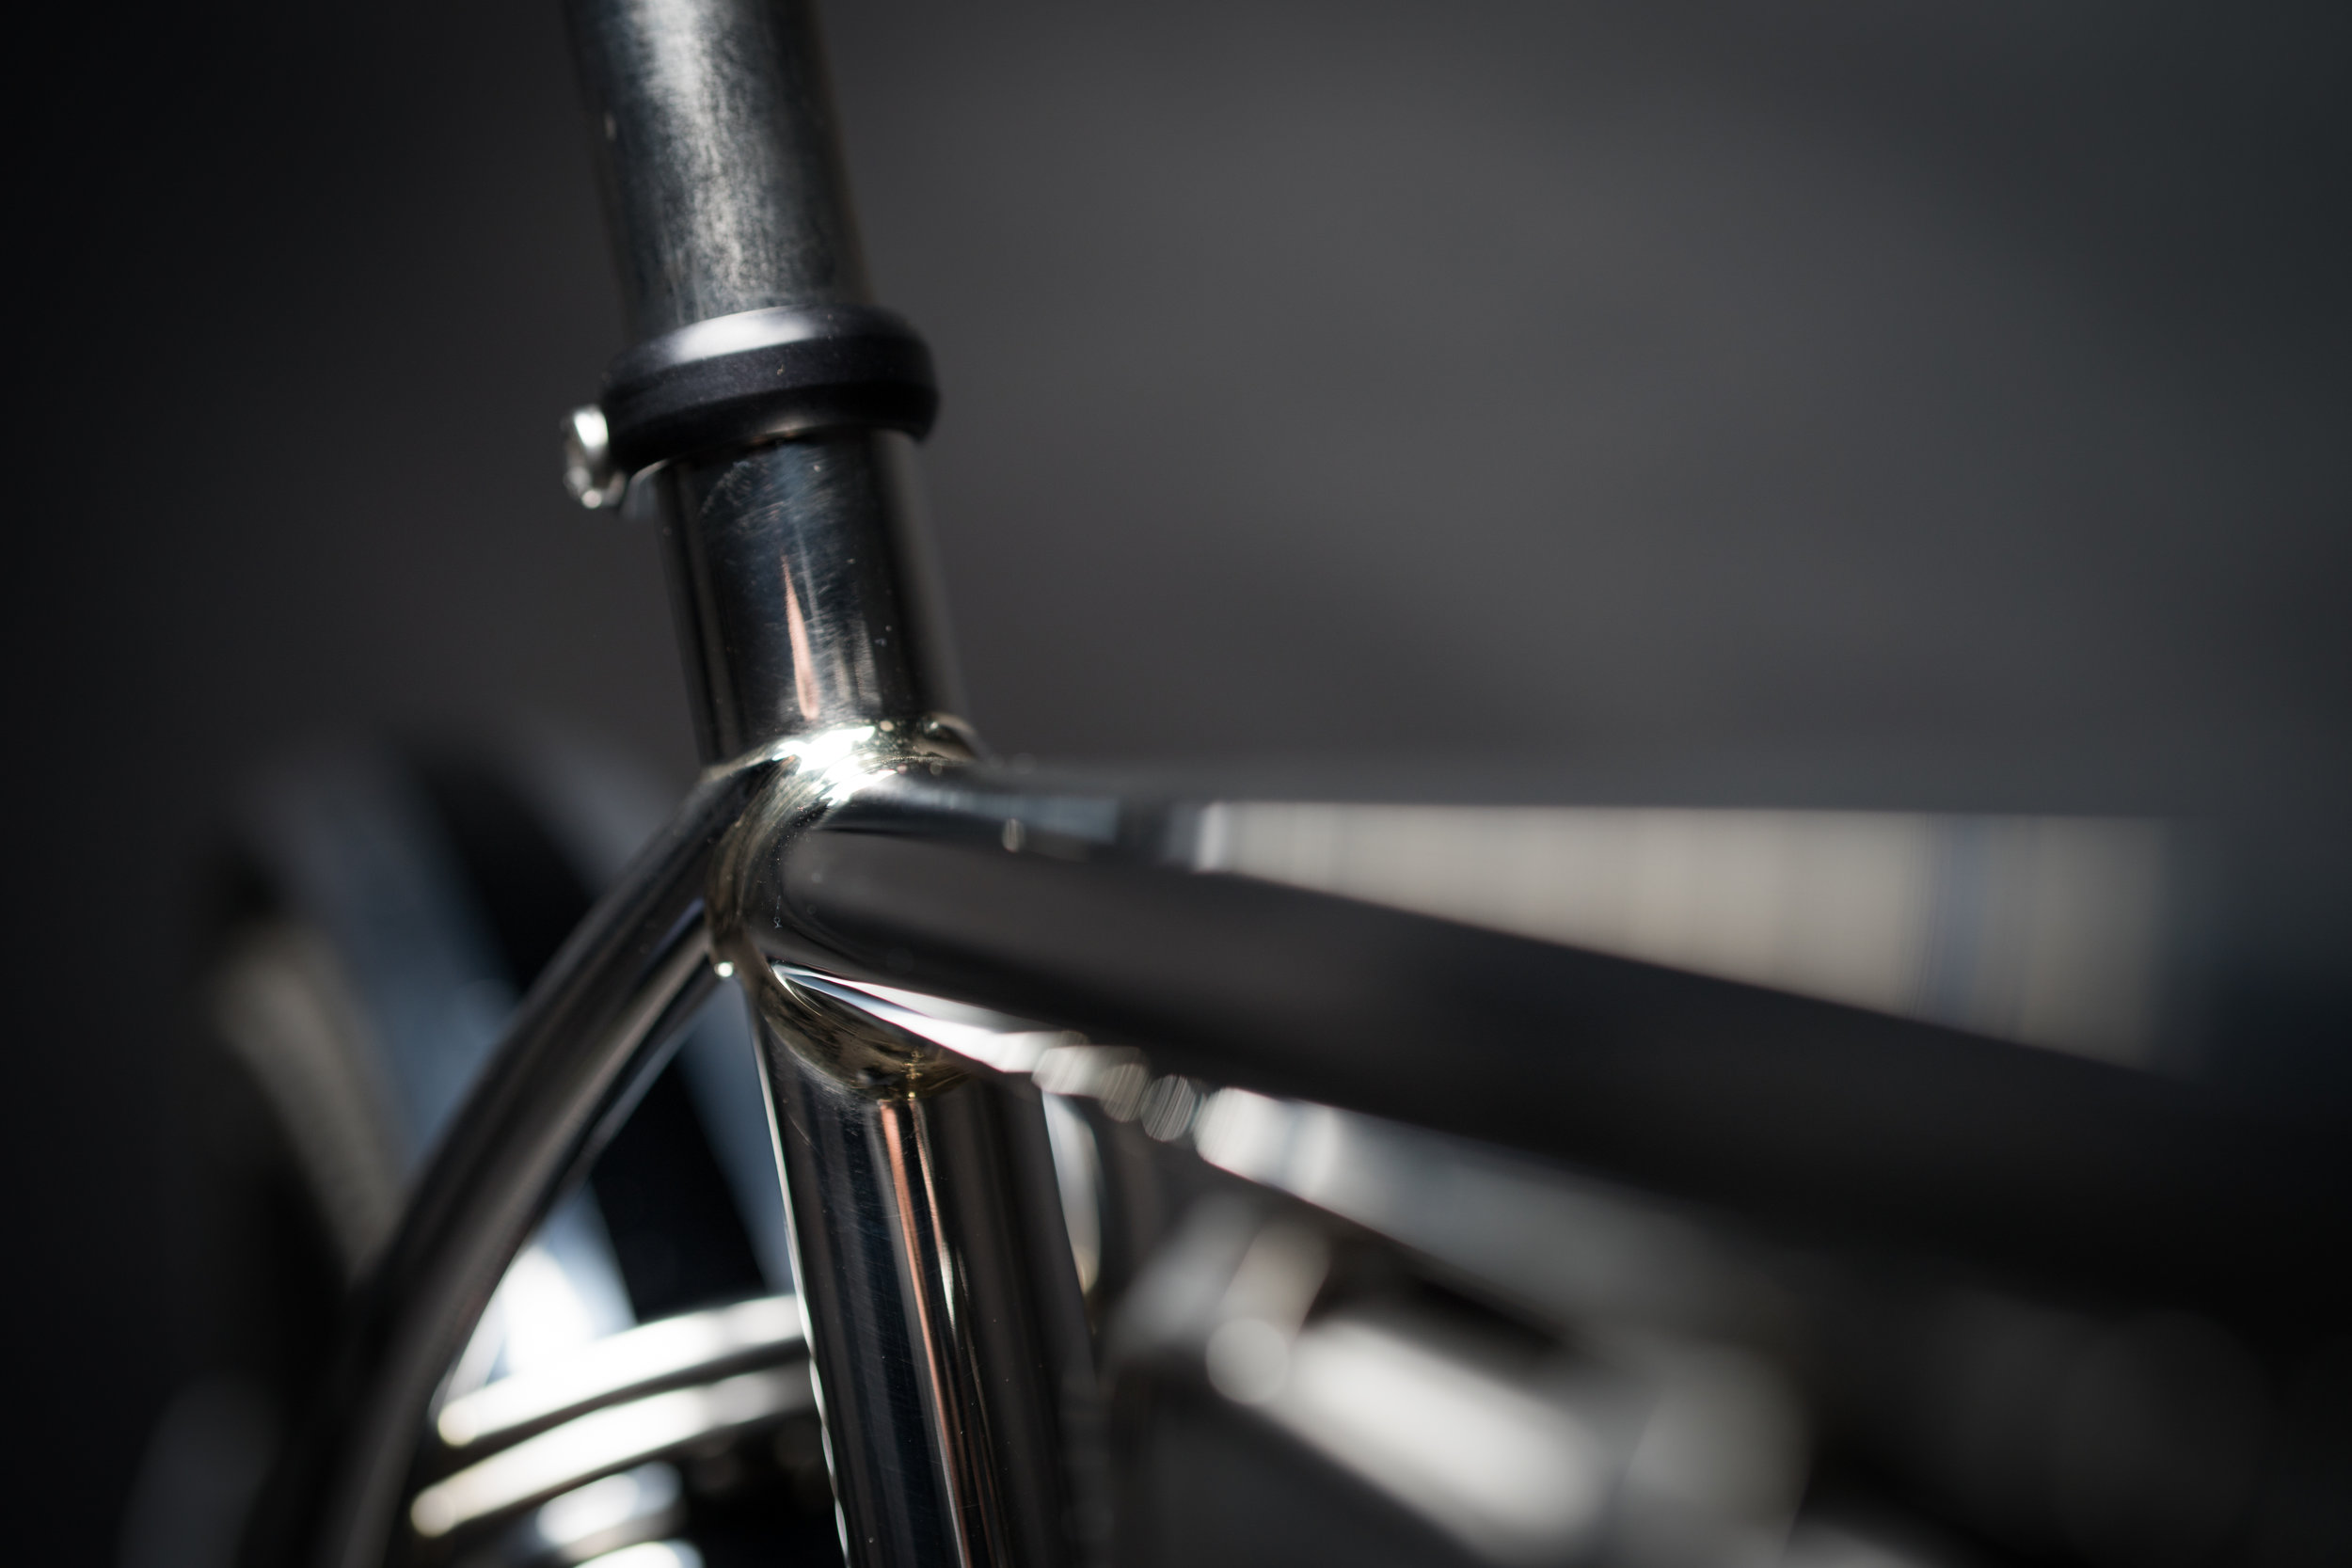
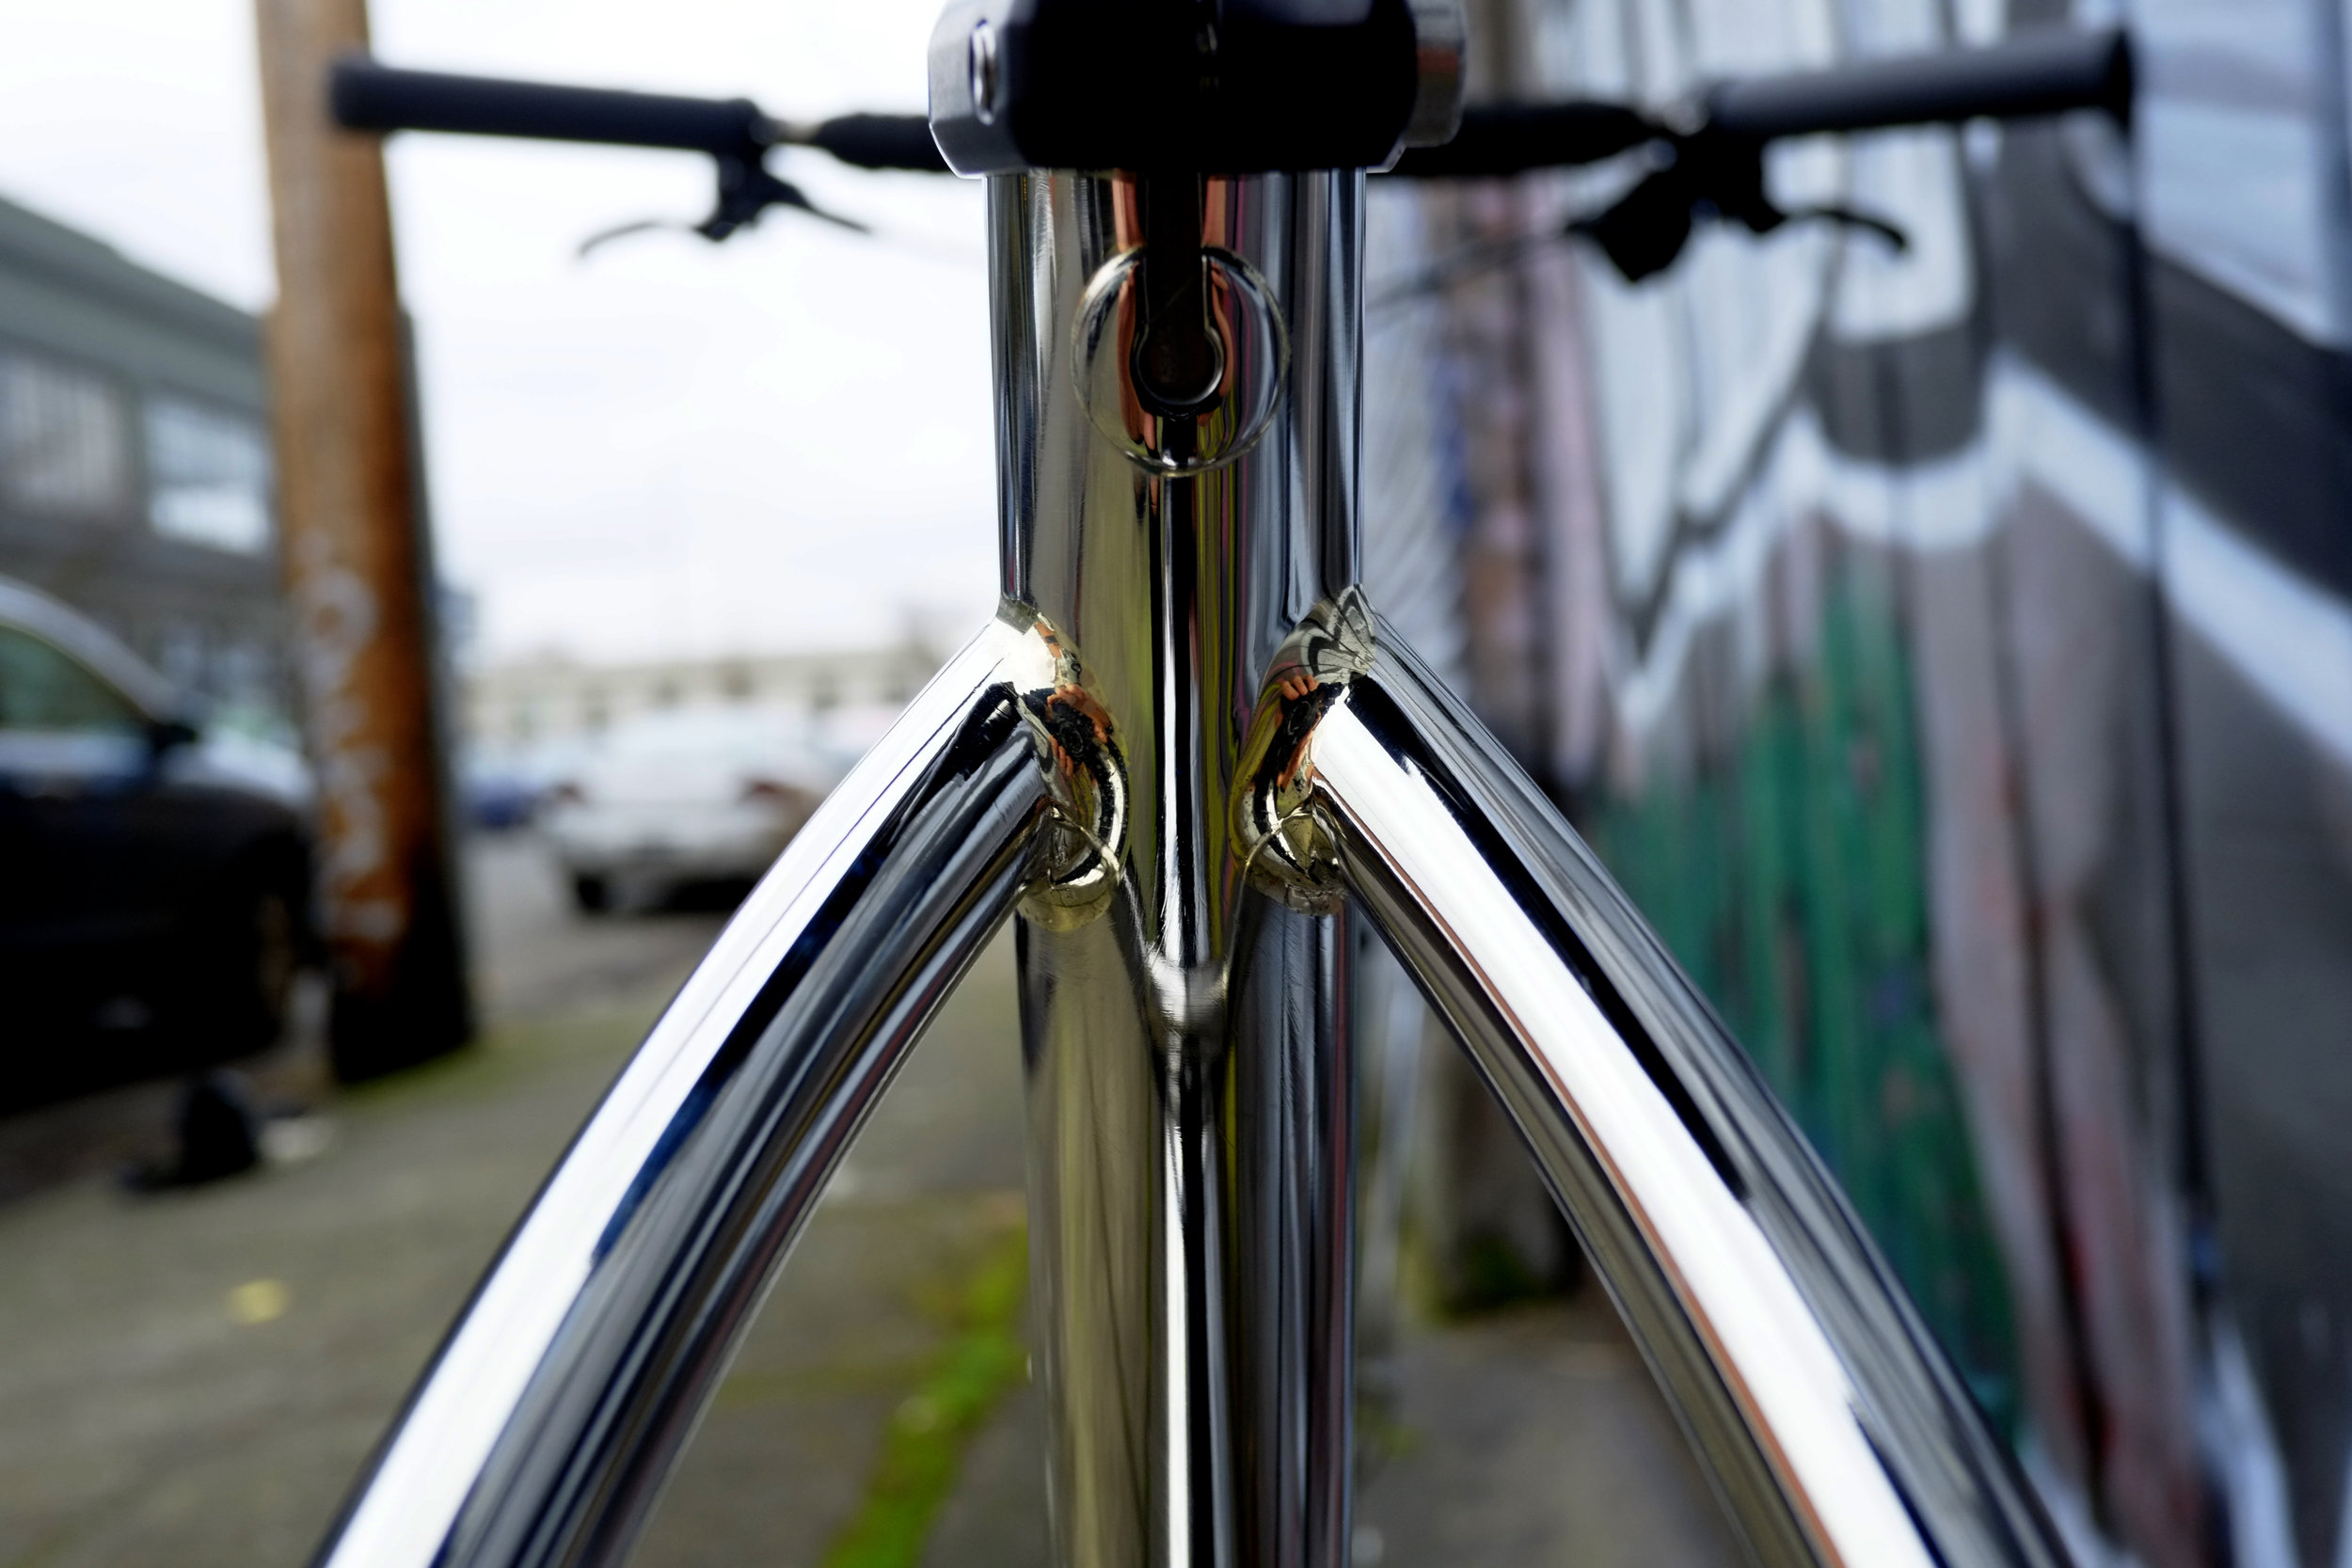
What eventually happened was, I built a bike for this guy, Mike Wolfson, a friend from the bike shop where I worked. It was maybe my fifth or sixth frame, an unbranded single speed, lugged, with a smokey clear powder coat. I’d ordered frame materials from this obscure distributor in England, and the lugs had long barbed points that sleeved over the tubes and made the bike look gothic and tough — it was by far the coolest thing I’d built. 

When the bike was all finished, before giving it to Mike, I put it in the work stand in my garage-shop, drank probably eight beers and just stared at the frame for hours, touching it, stepping back, shifting the light, looking at it from different angles. 

“I made this,” I kept thinking. “With my own hands.” It was a moment of personal astonishment, of almost disbelief, that I could produce something so beautiful. I was finally gaining a bit of confidence in my skills. I saw my progress as a bike builder, it felt like I learned so much every time I lit the torch. 

But by this time, more than a year into this business, I still wasn’t officially a business, and I was distraught about not having a name. How would anyone every find me? No name, no website, just a bunch of anonymous tubes with wheels. If I didn’t name my bikes soon, I felt like I was going to die.

When I delivered the bike I told Mike Wolfson my troubles. “I can’t figure it out,” I said. “There just isn’t any name that sounds right.” He knew I’d put Grimace on a bike or two, but he’d told me from the beginning that he wouldn’t have that name on the bike I built for him. I was a little sheepish about it because I knew it was a stupid name. 
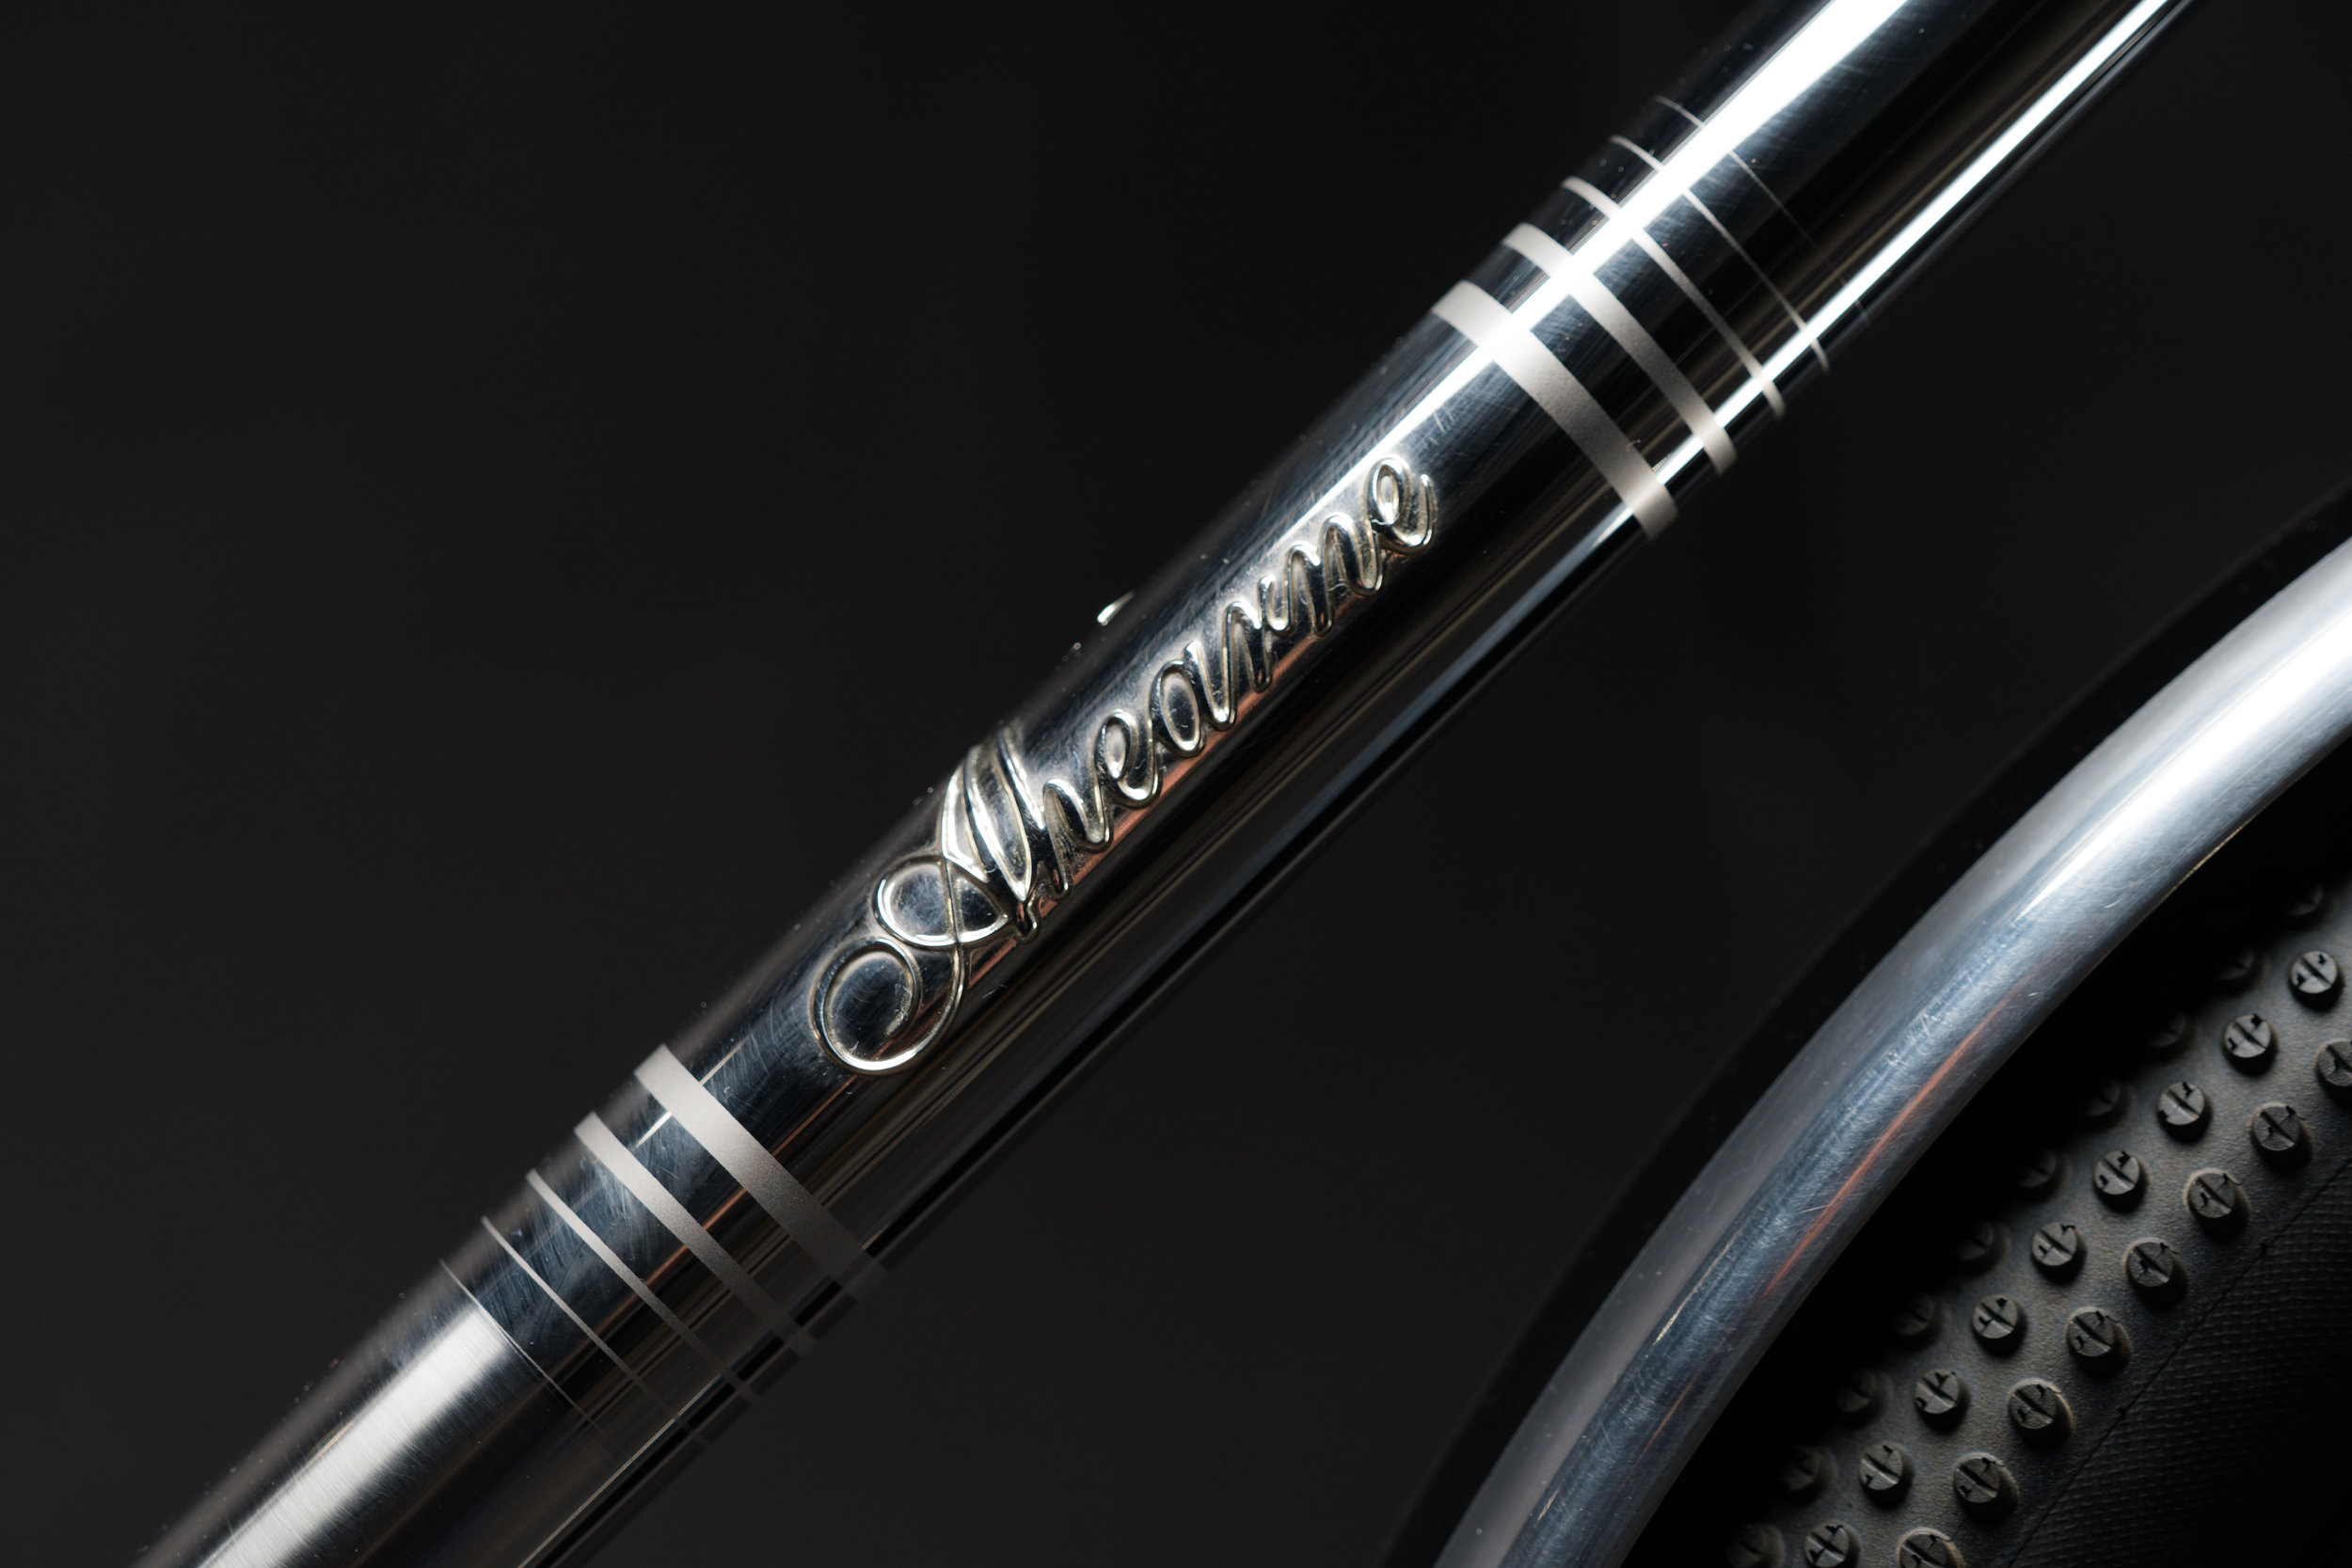
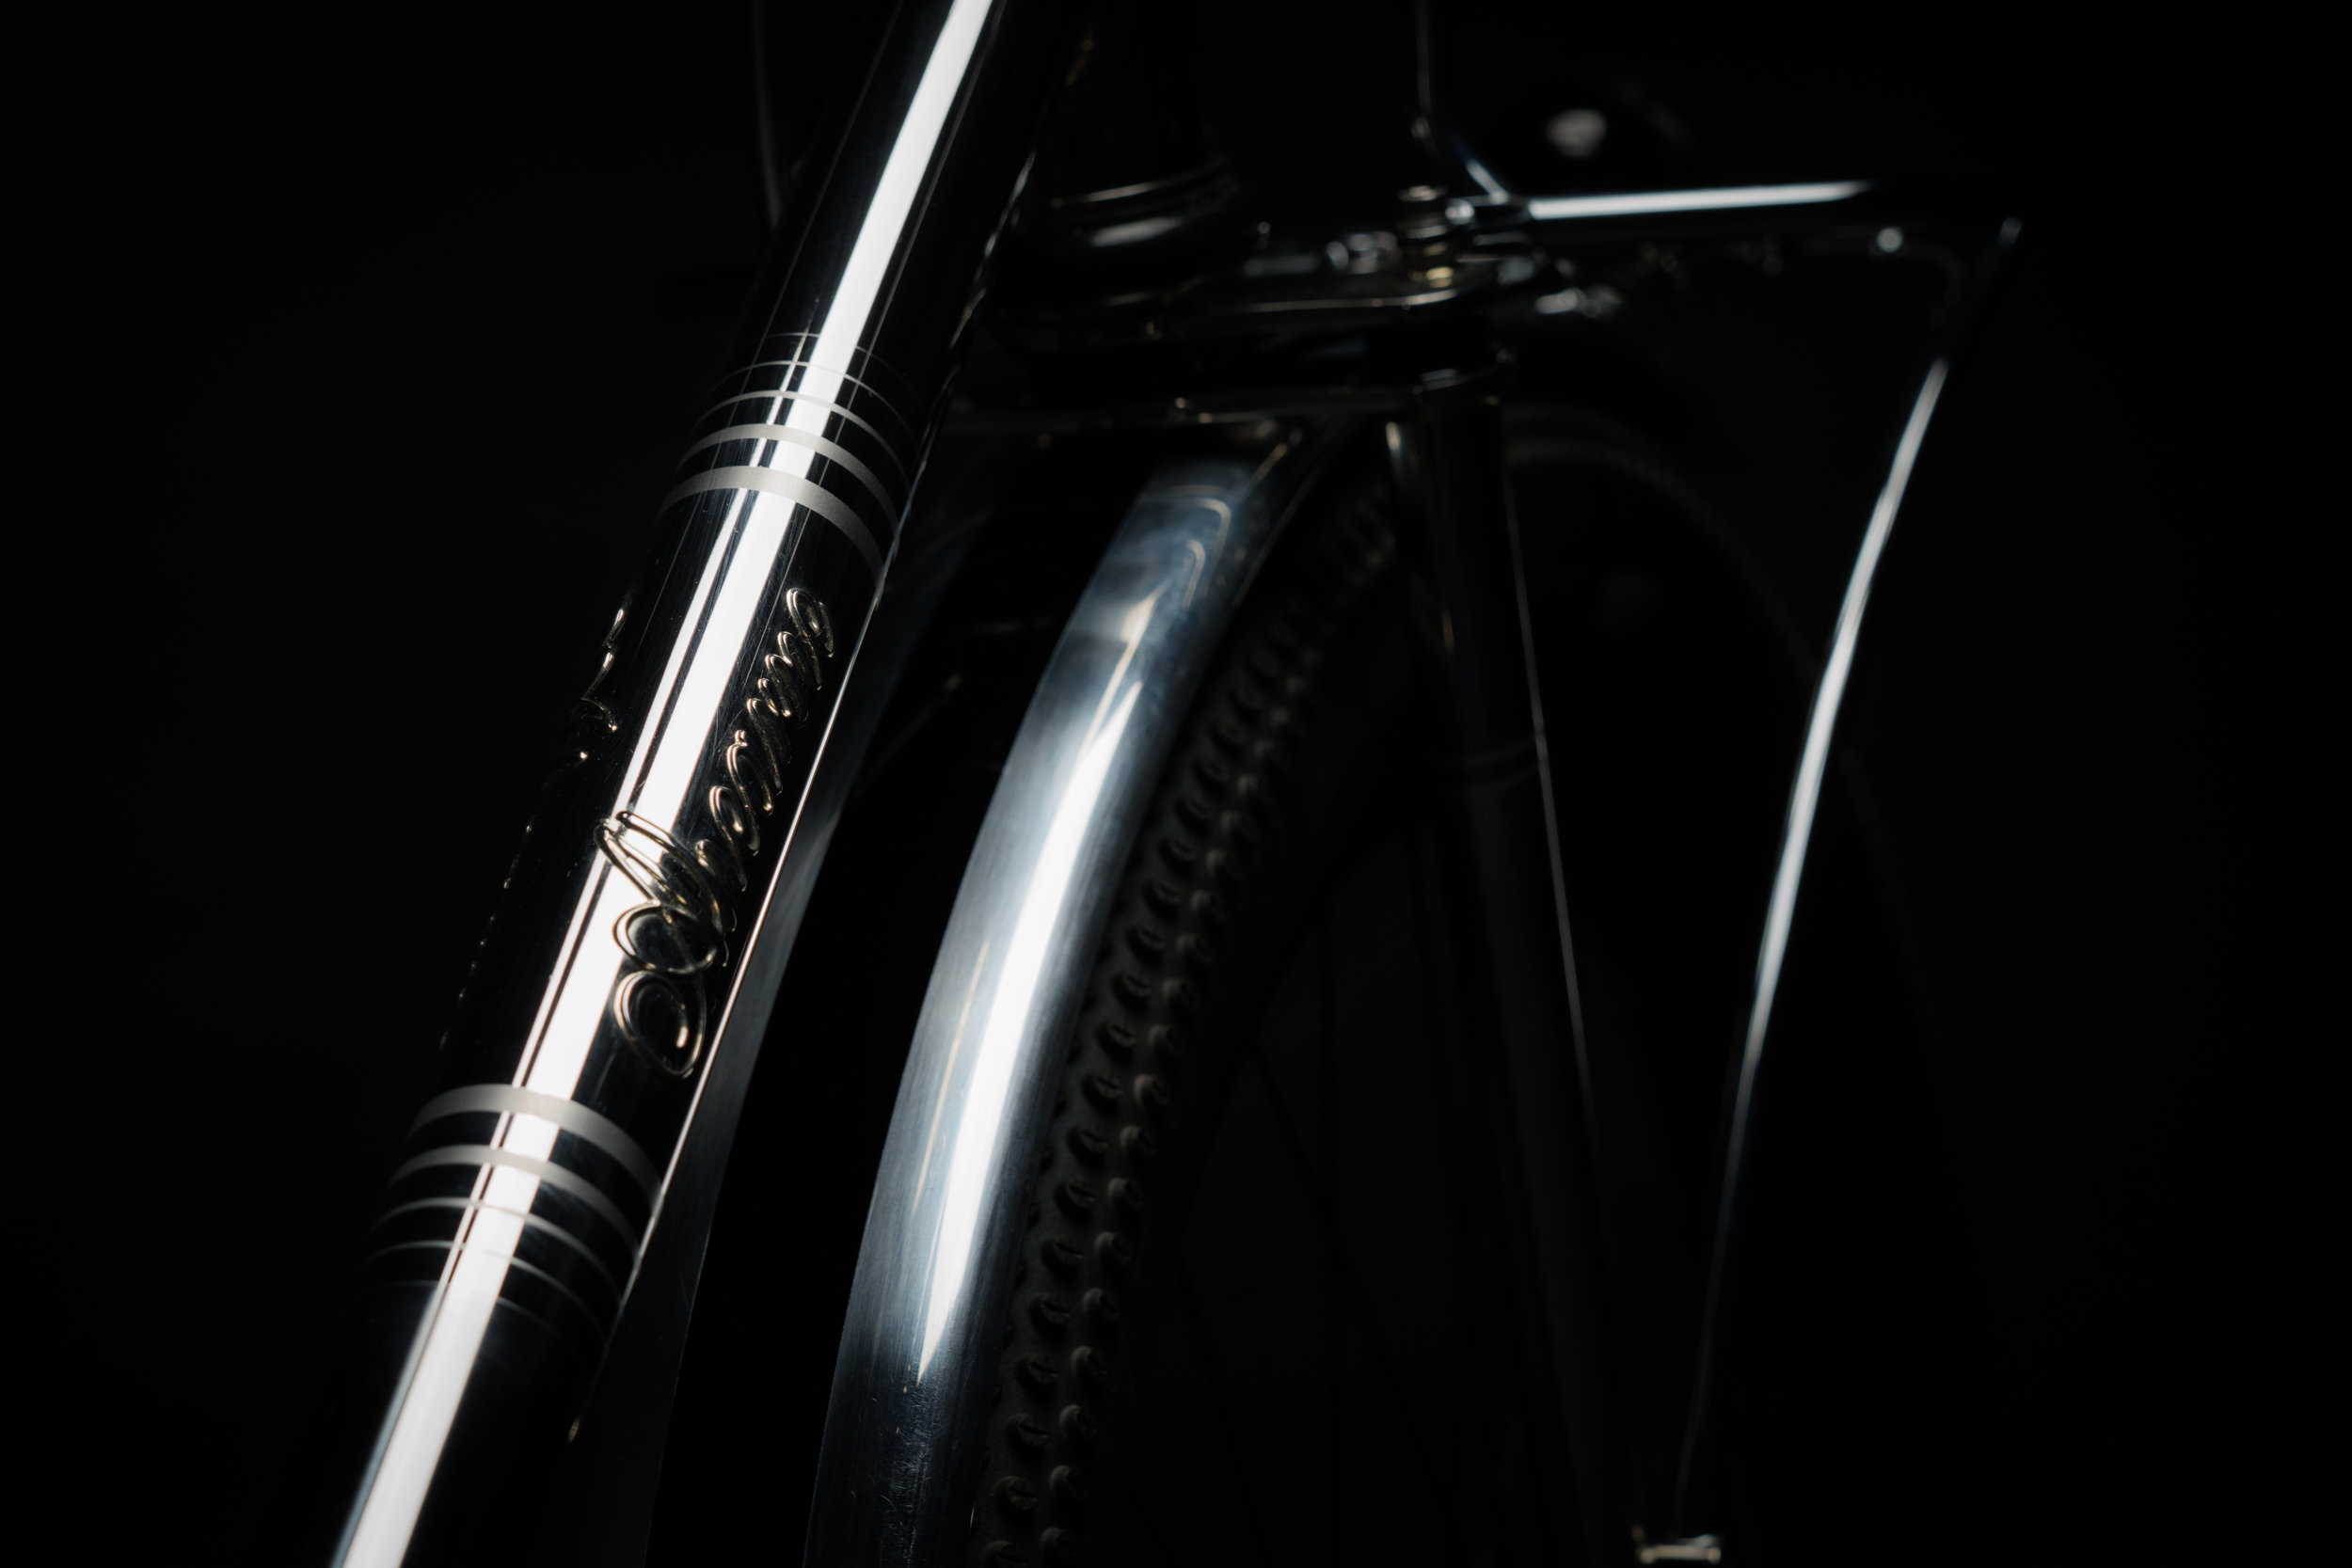
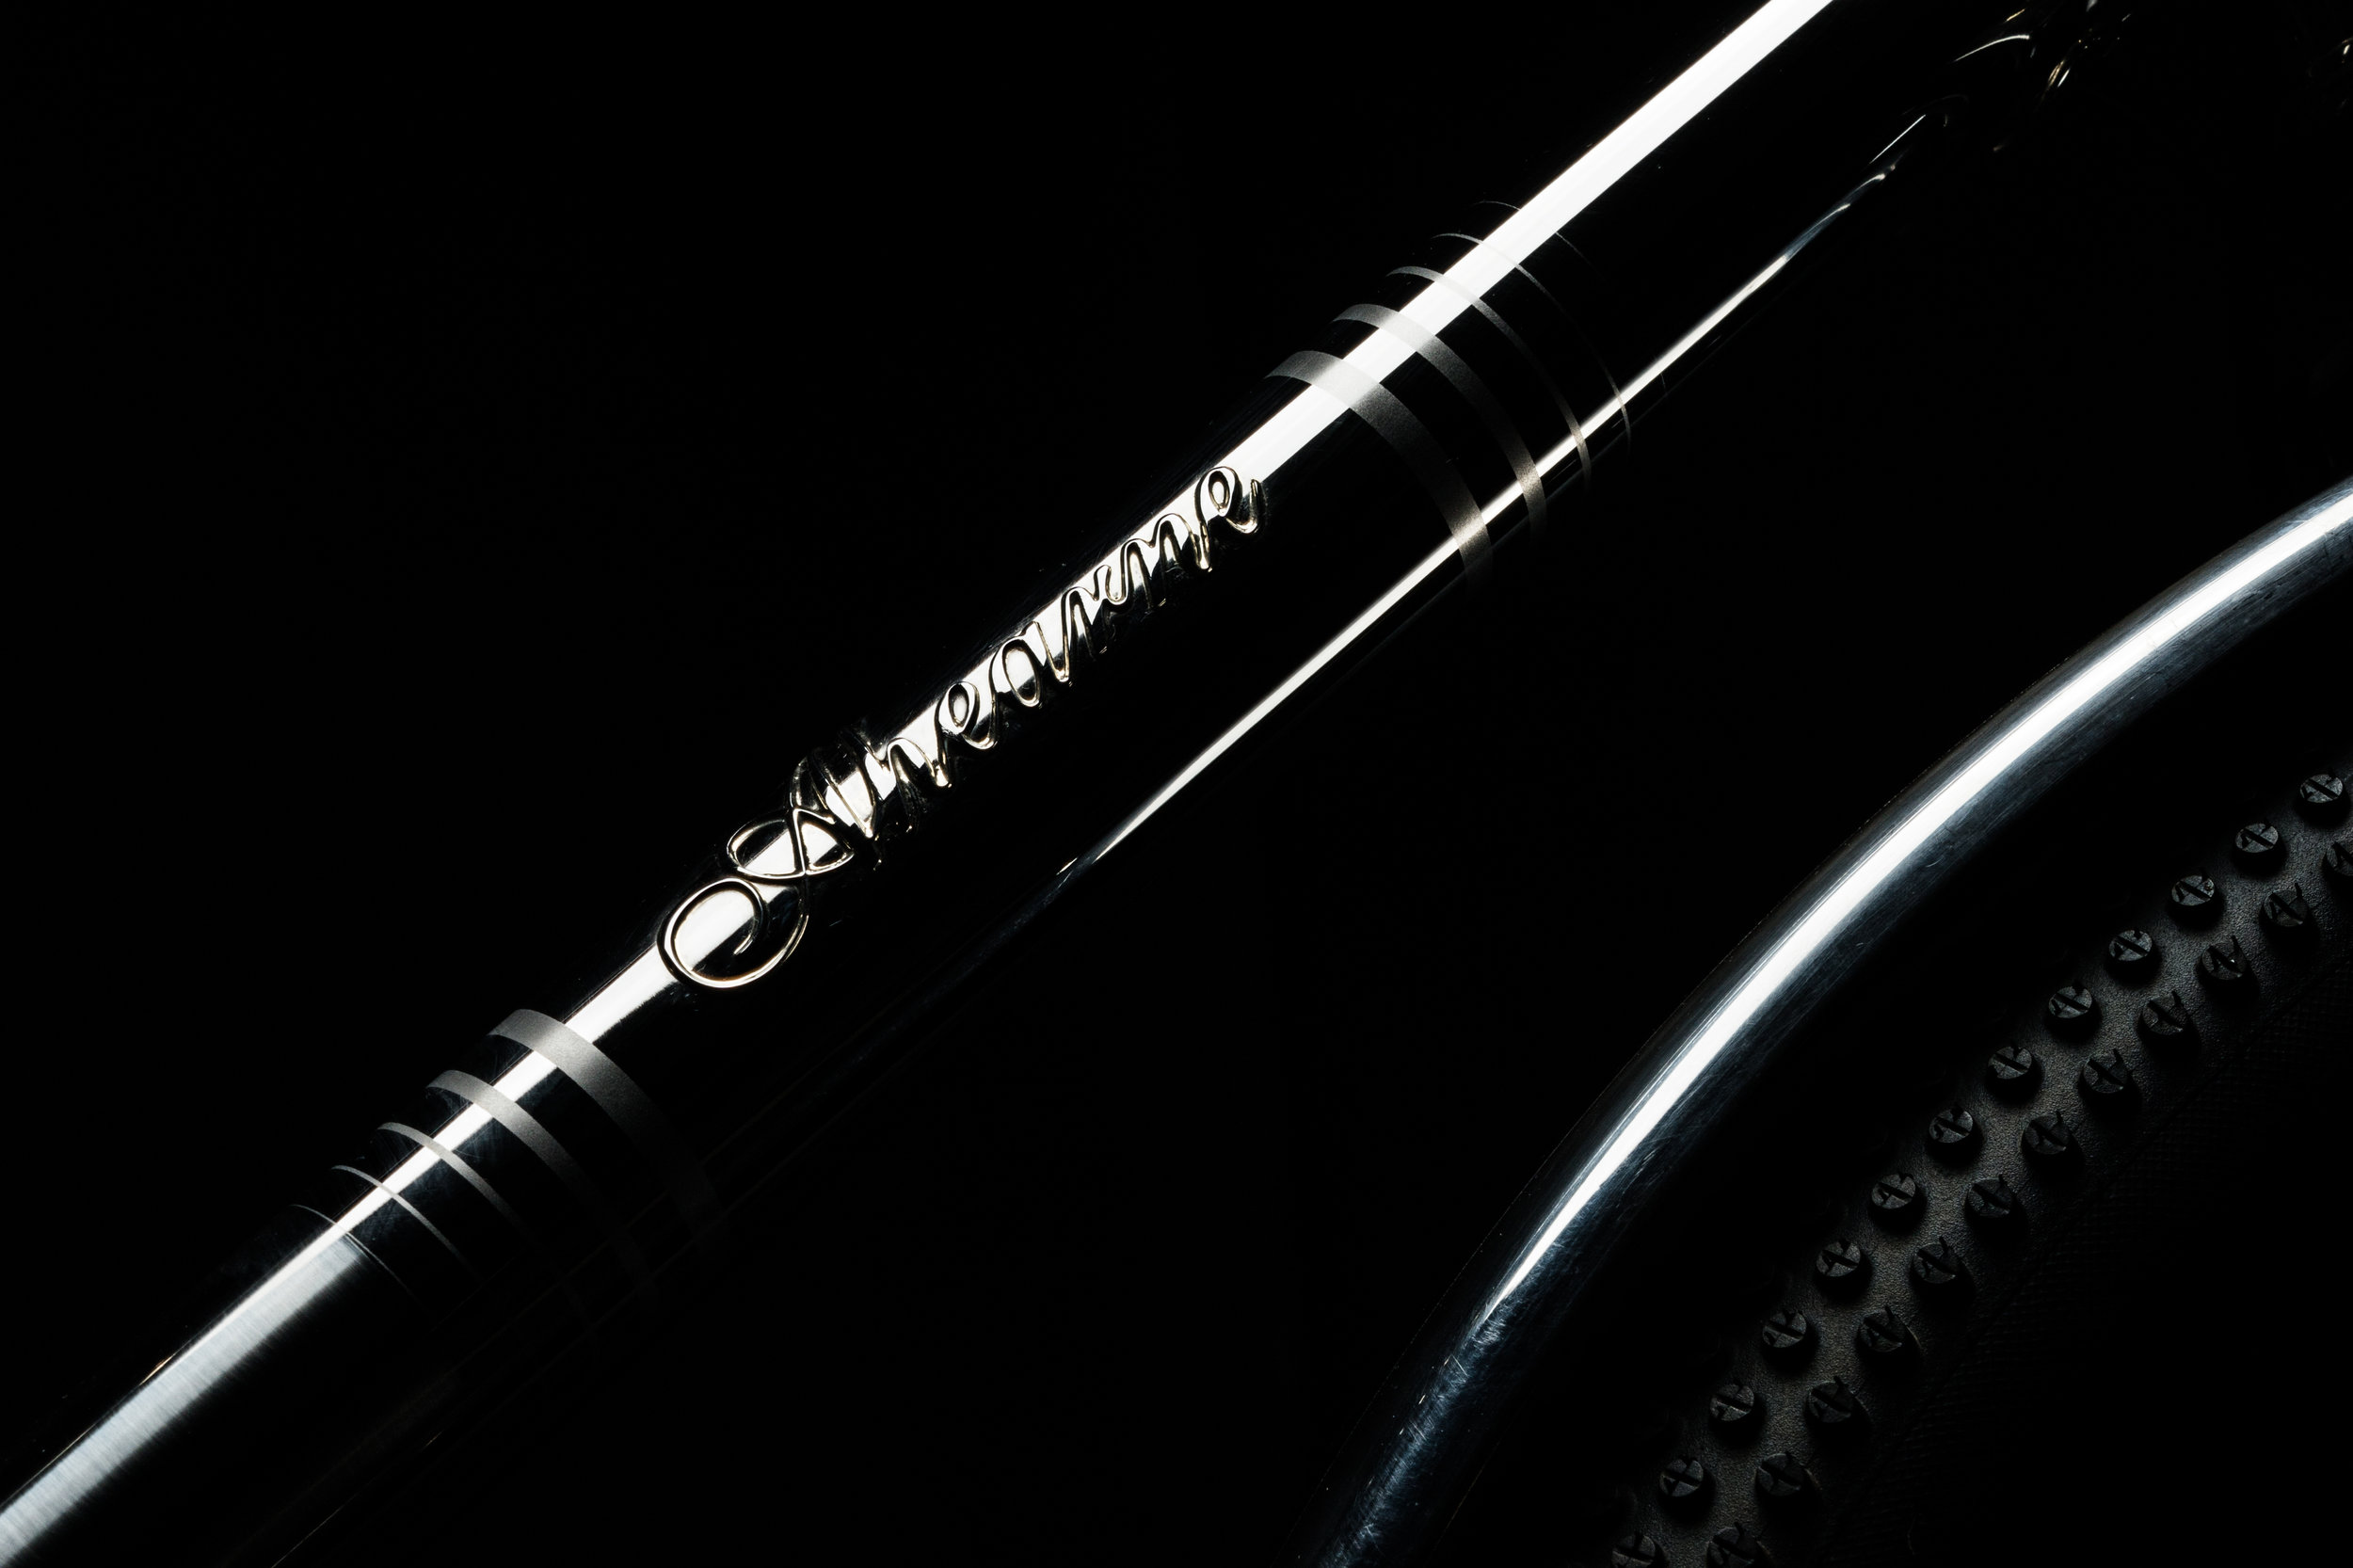
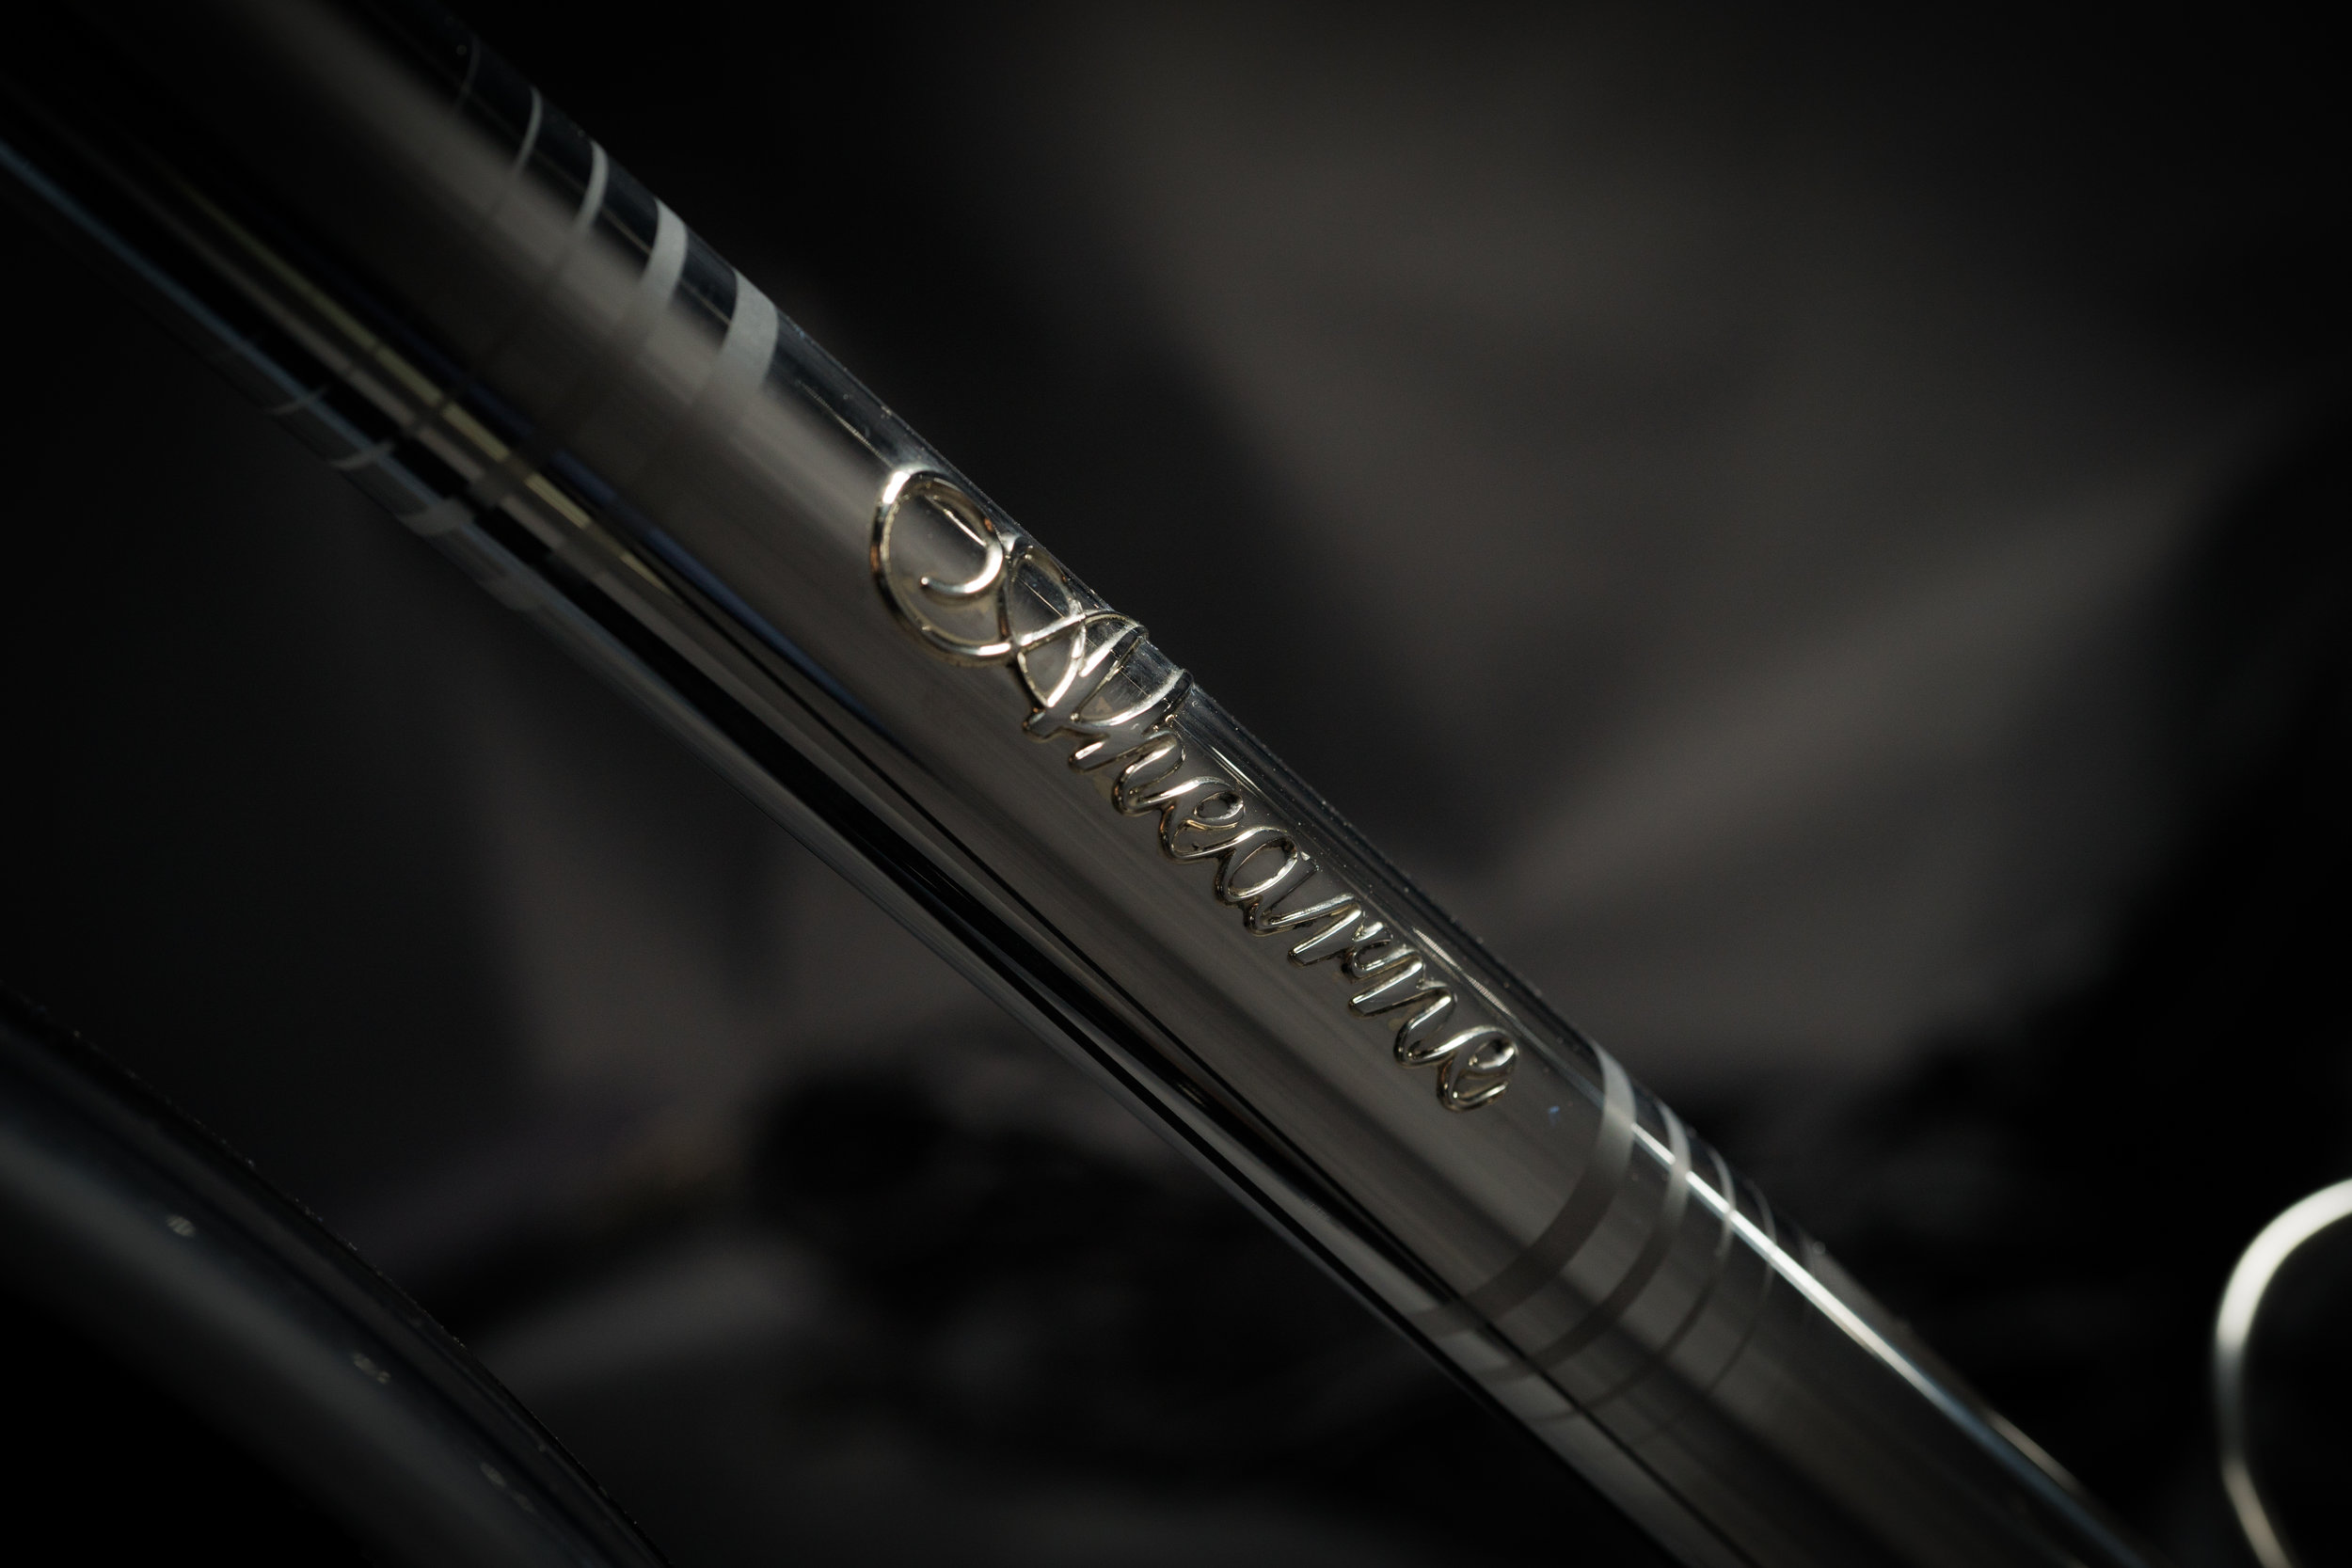
Vertical Logo

Vertical Logo

The day he got his bike, Mike finally said it: “Dude, your bikes are called Ahearne. It’s your name. It’s your bike name.” 

Simple as that. I needed to hear this, but I was like, Easy for you to say. You’ve got the cool name

Son of a Wolf. 

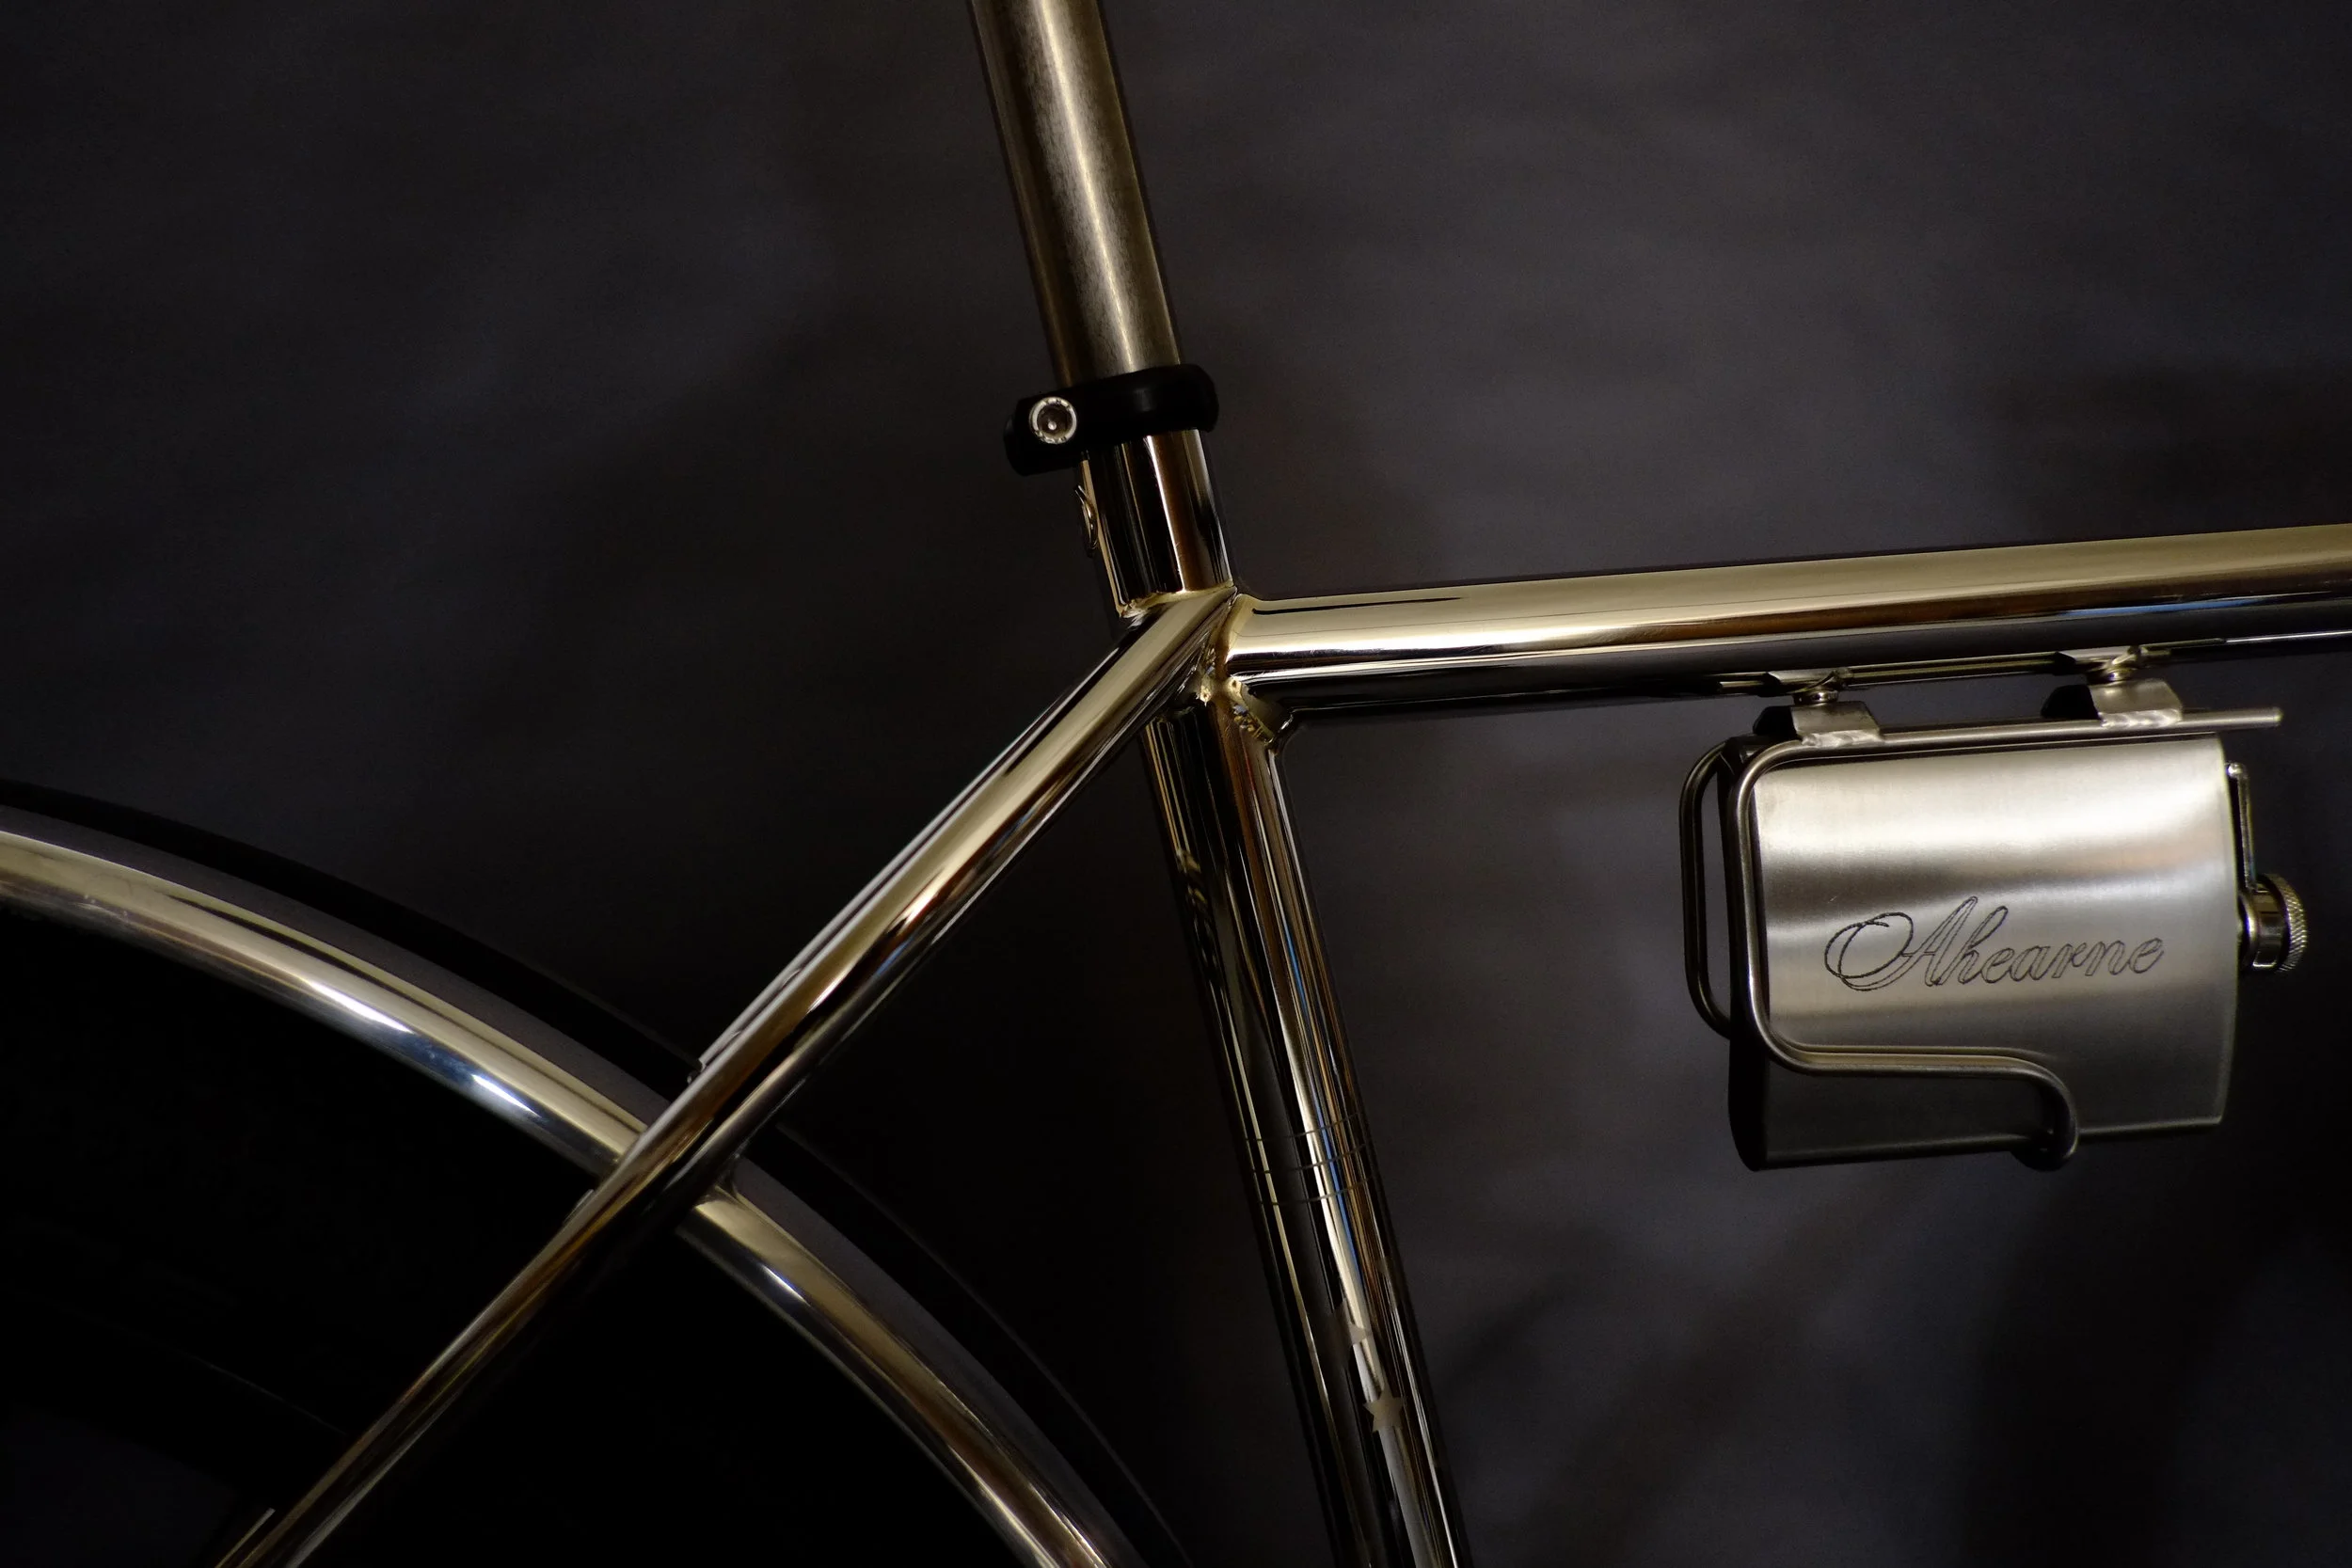
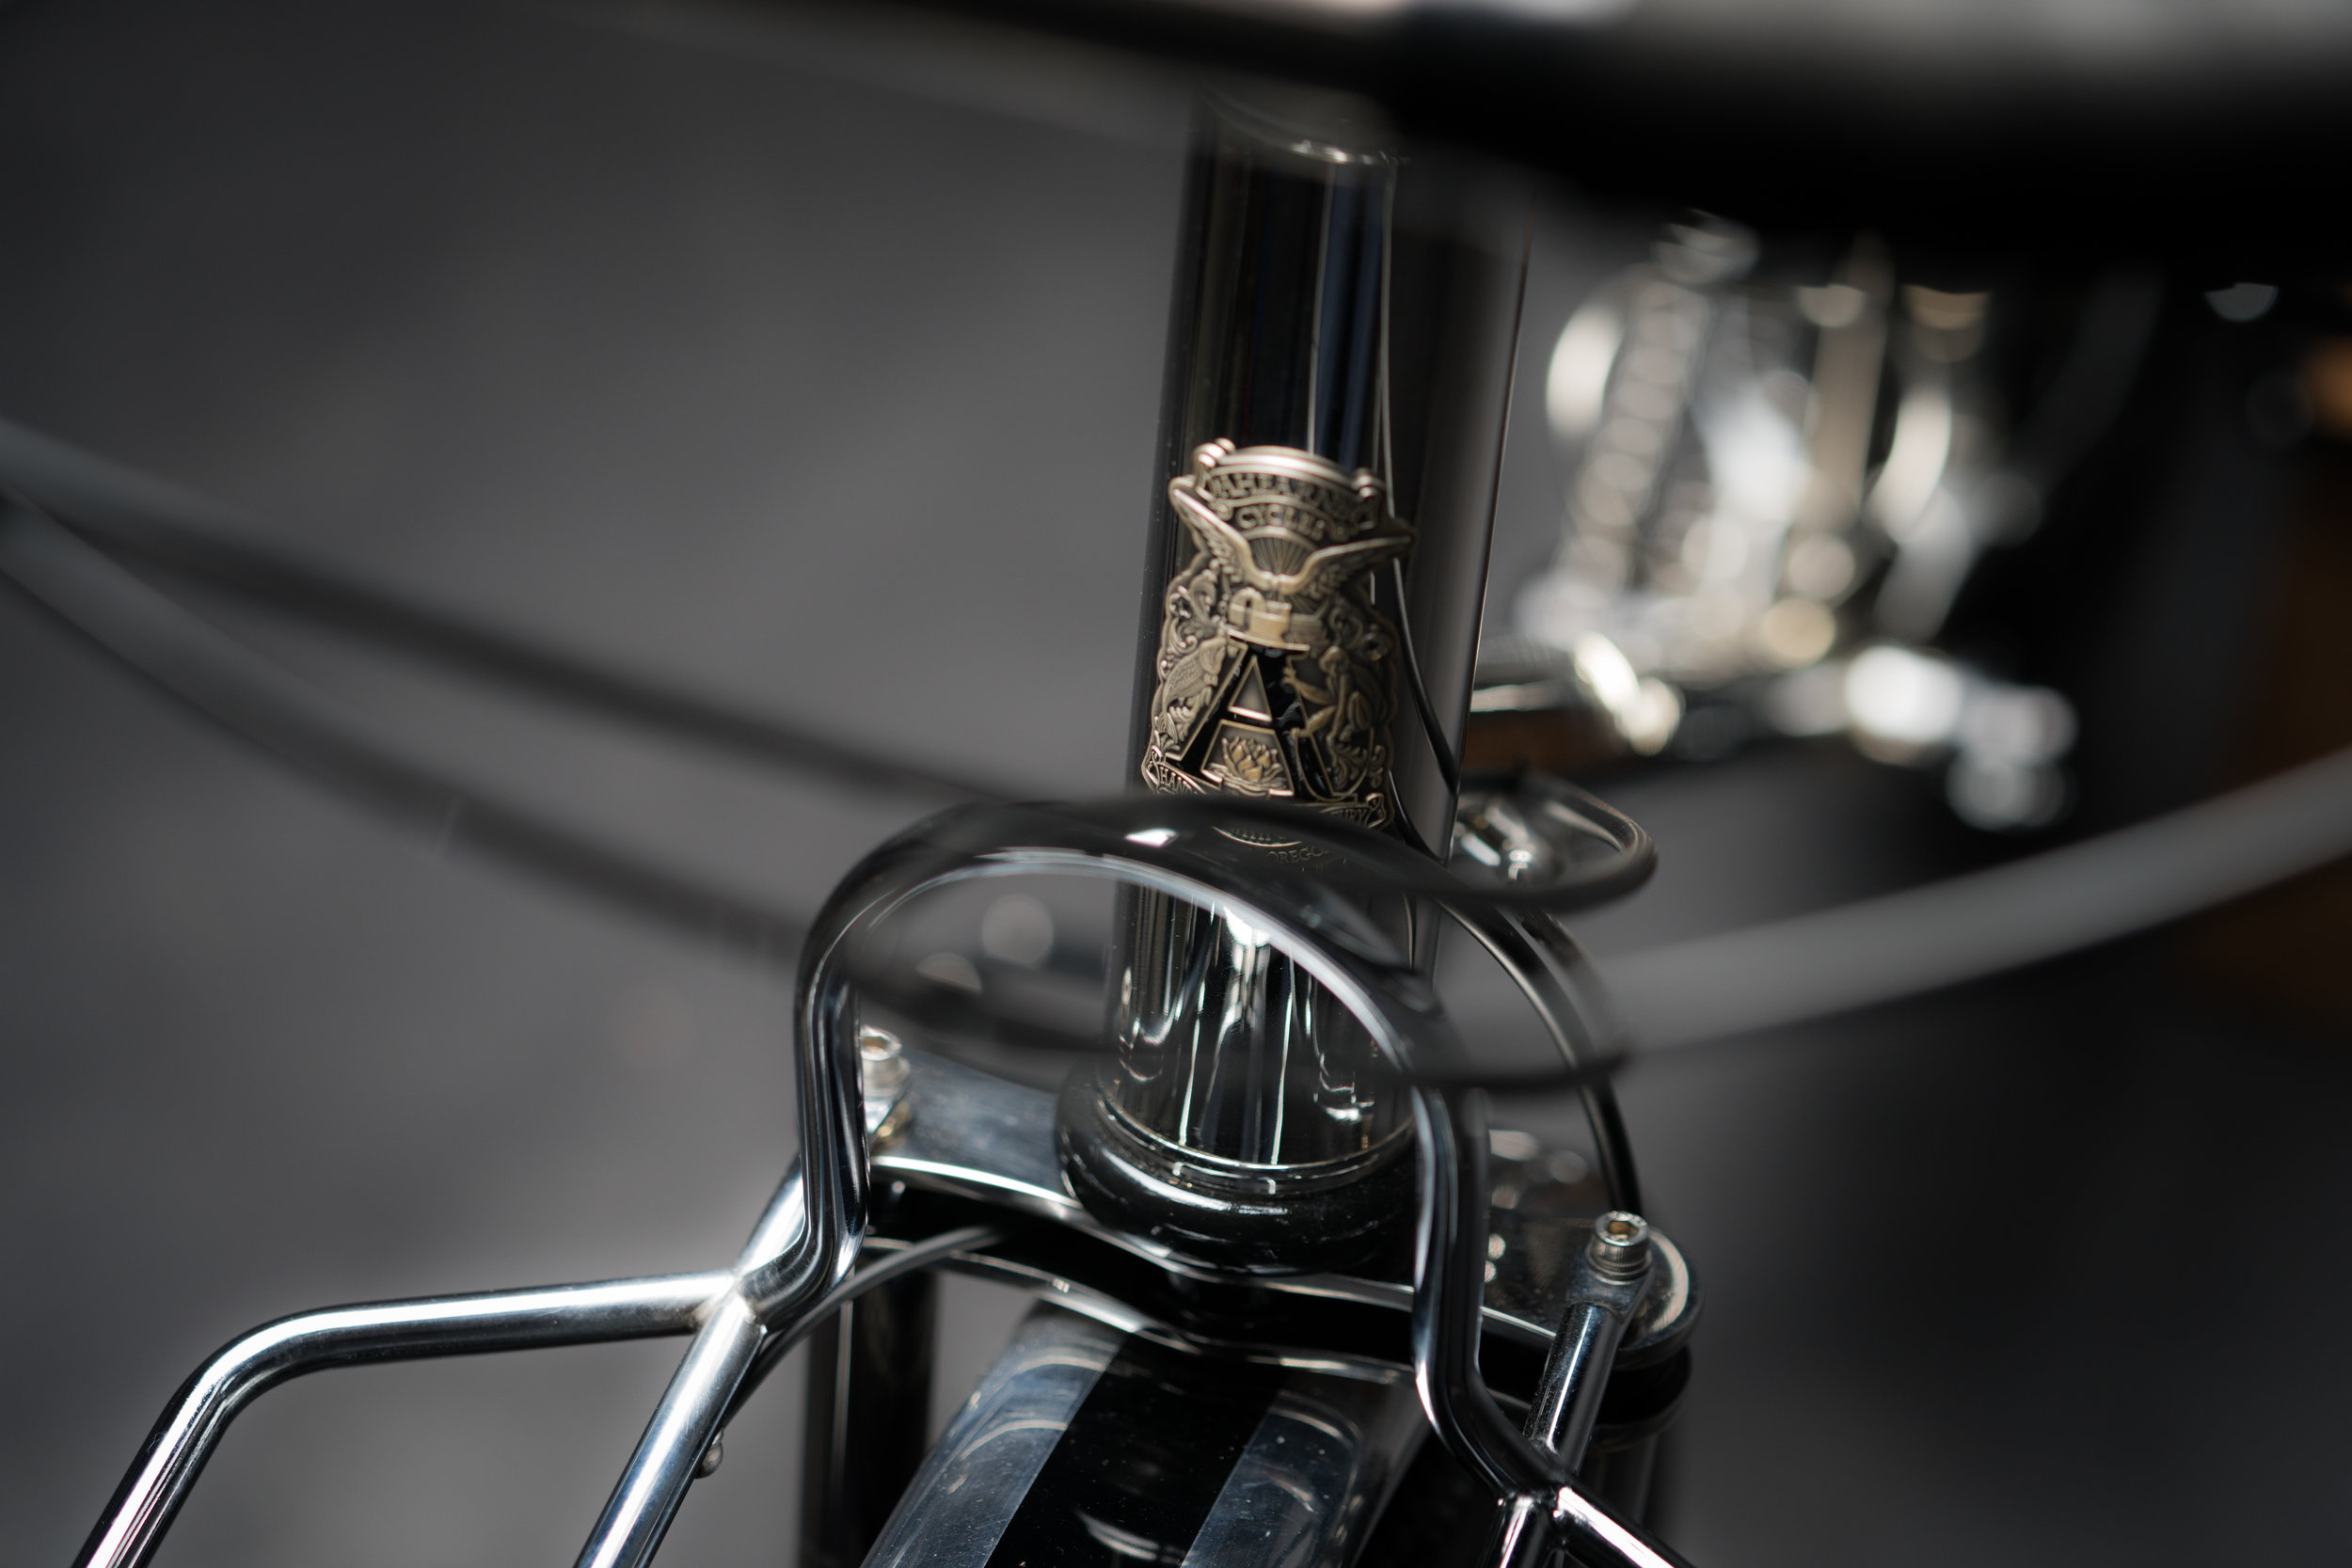
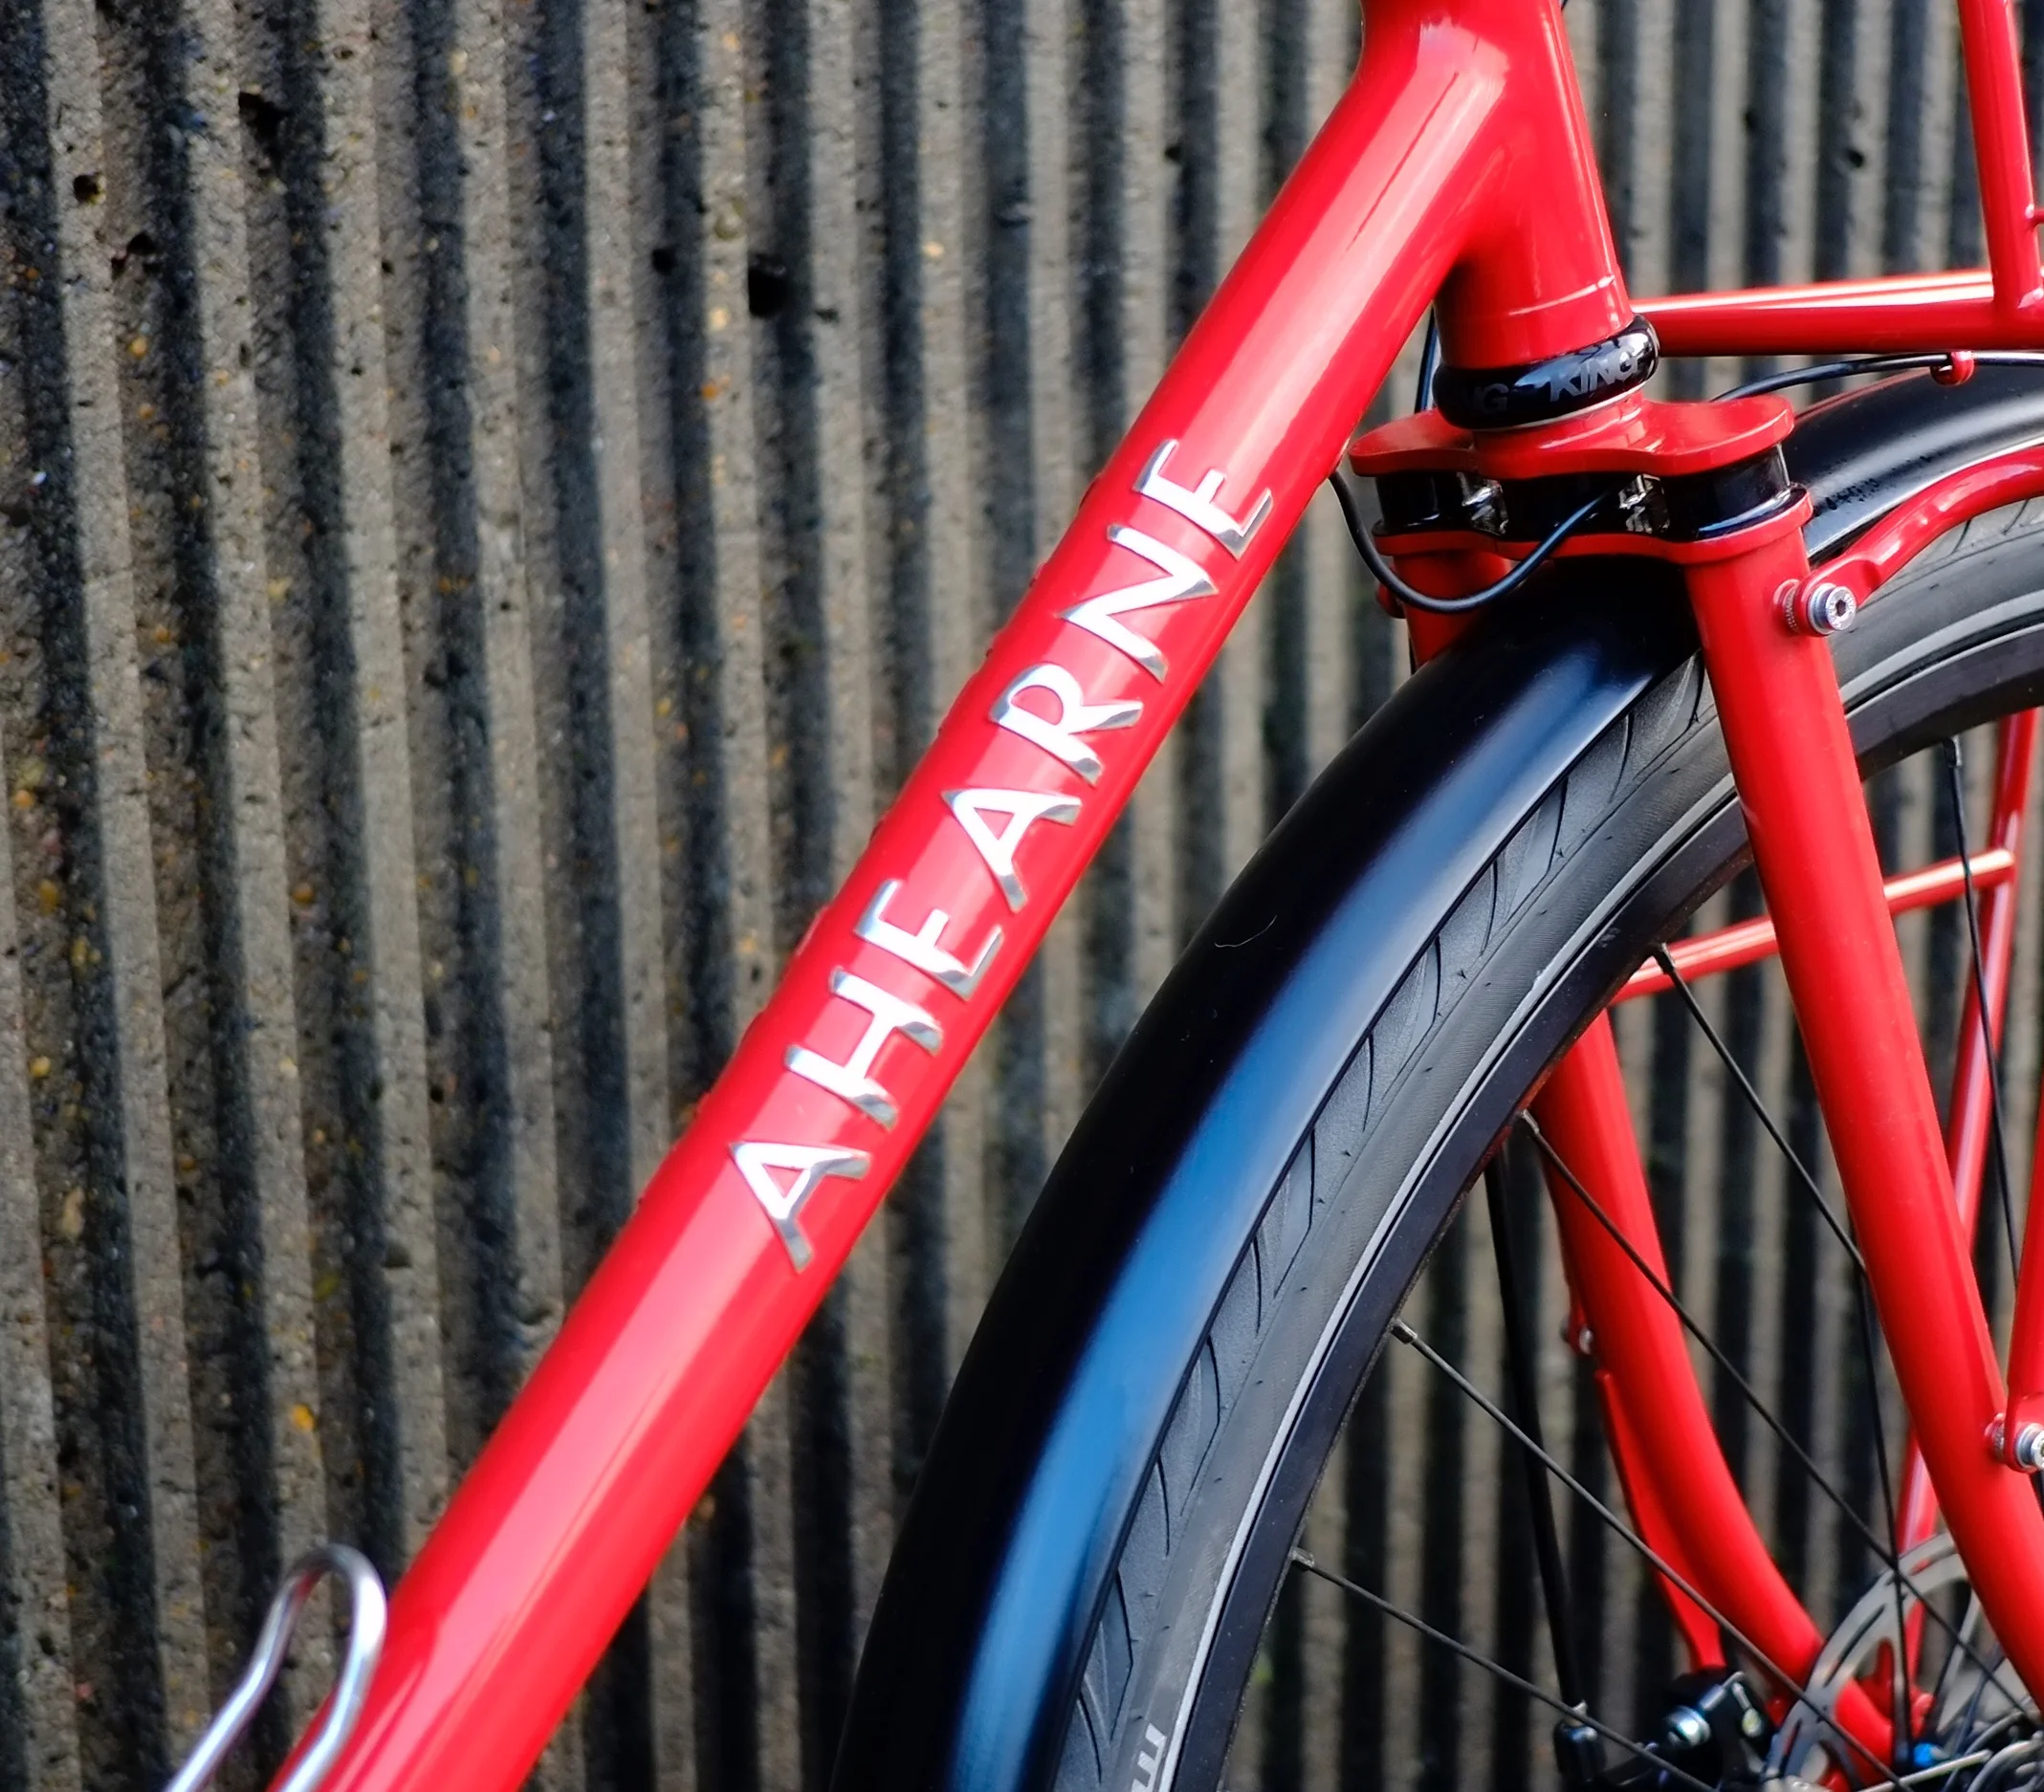
This was it, though. I knew he was right and I couldn’t avoid it anymore. I went to Sign Wizards that same week, picked through a giant font book until I found an Old English-style lettering I liked. Karla, a graphic designer, helped me by adjusting the size and letter orientation. I had a name, but I was still too much of a punk to want to put the logo on the down tube, as per tradition. I asked Karla to set the lettering vertically, stacked one on top of another, so I could put the logo on the seat tube. I had her keep it kind of small, but it was a start. I needed to warm to the idea. I ordered five sets of high quality vinyl logos in black.

Tradition or not, though, this was it; This made it official. I had a name. I had my name. 

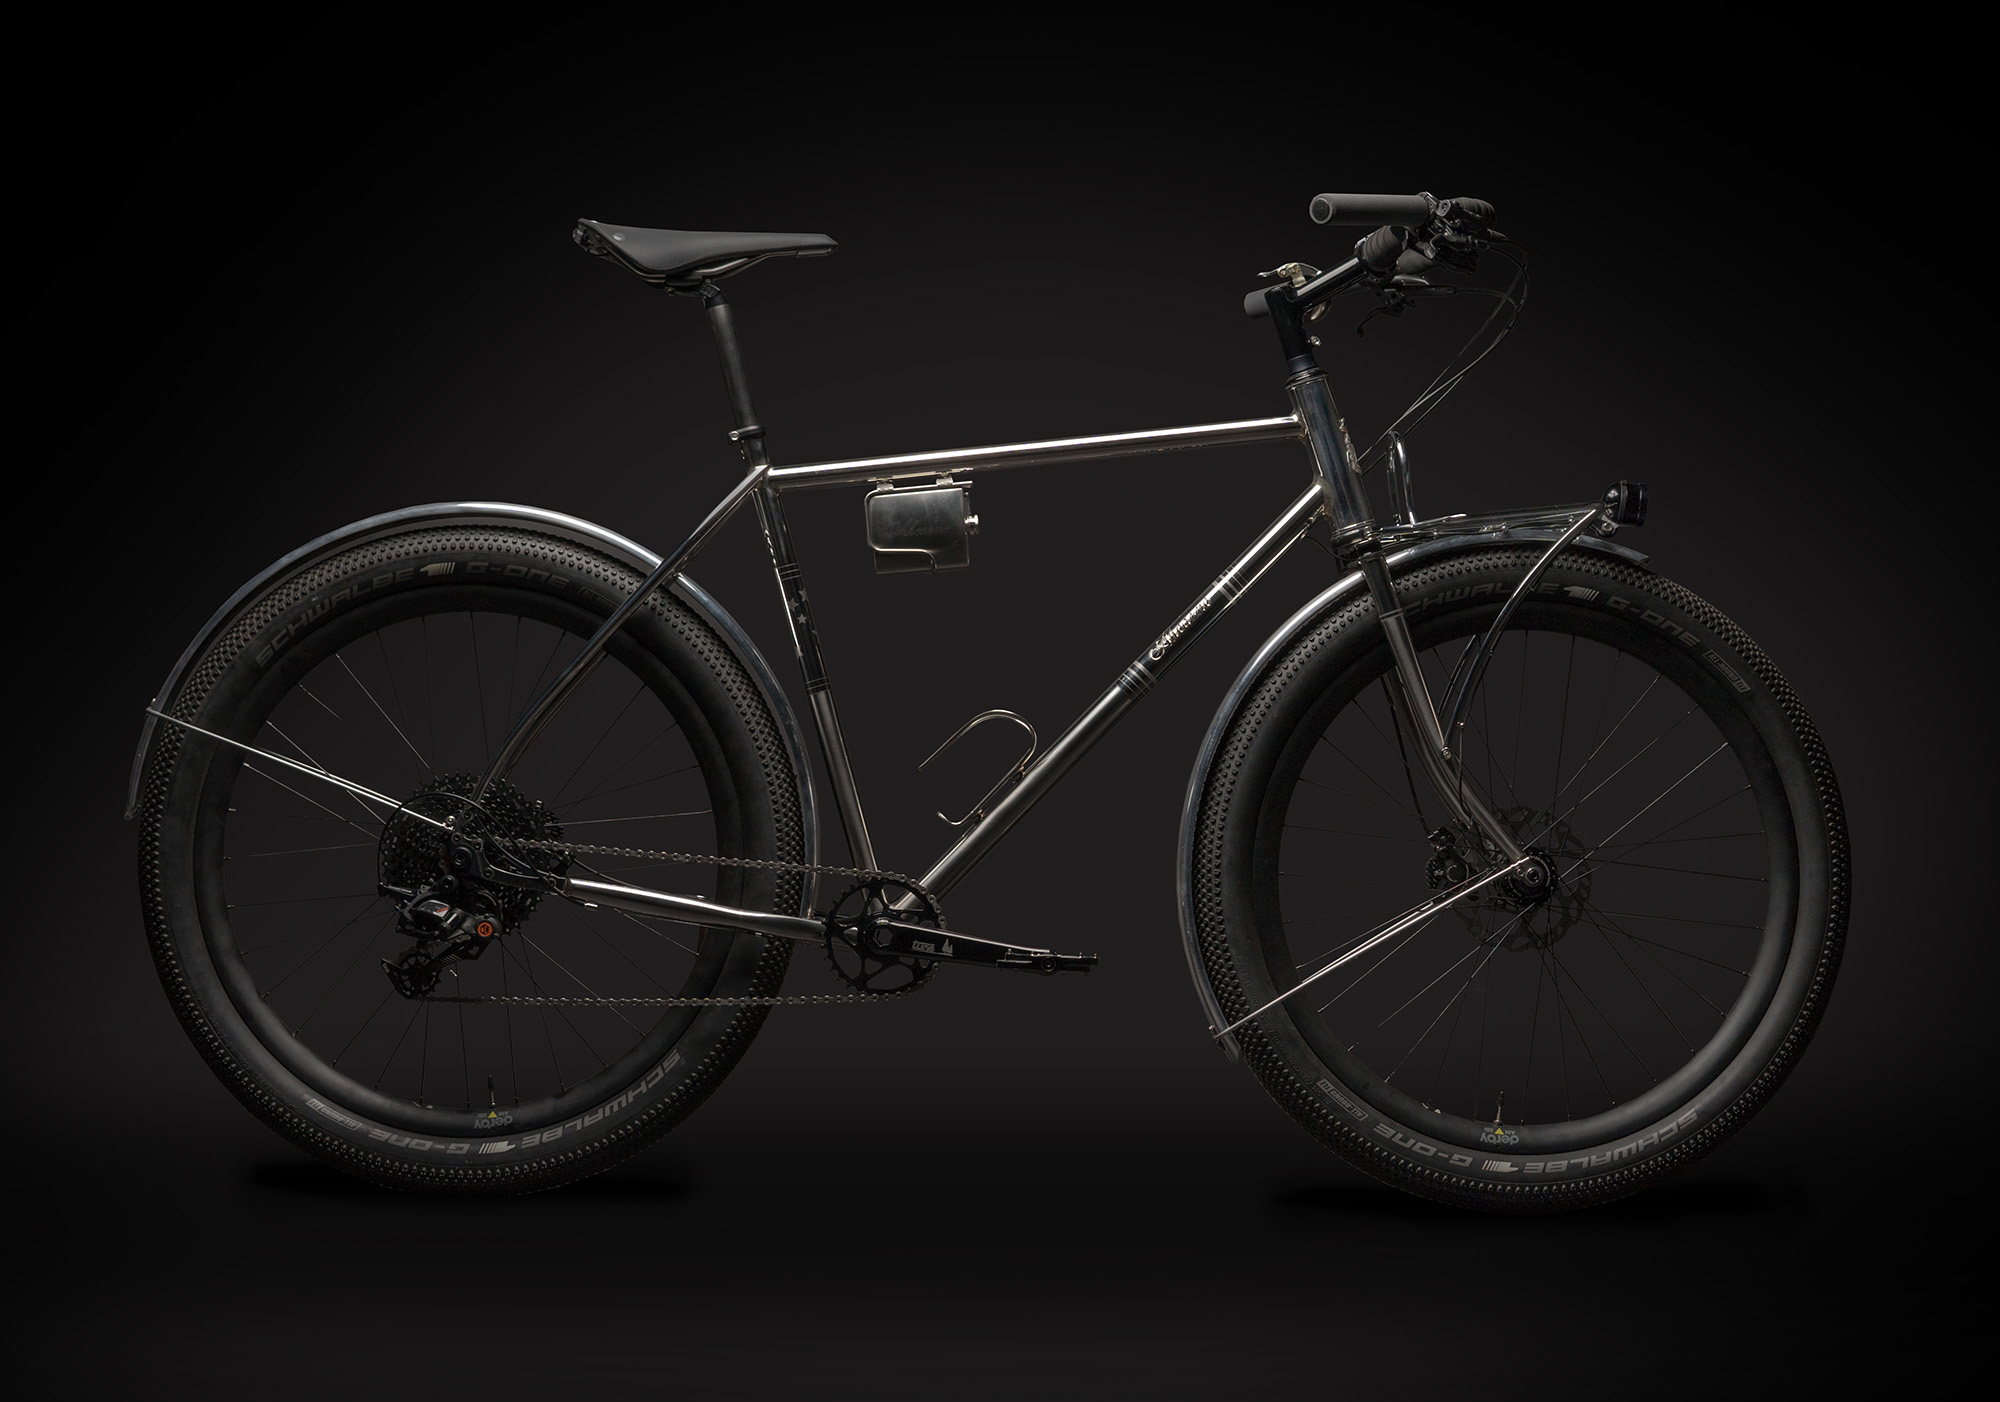
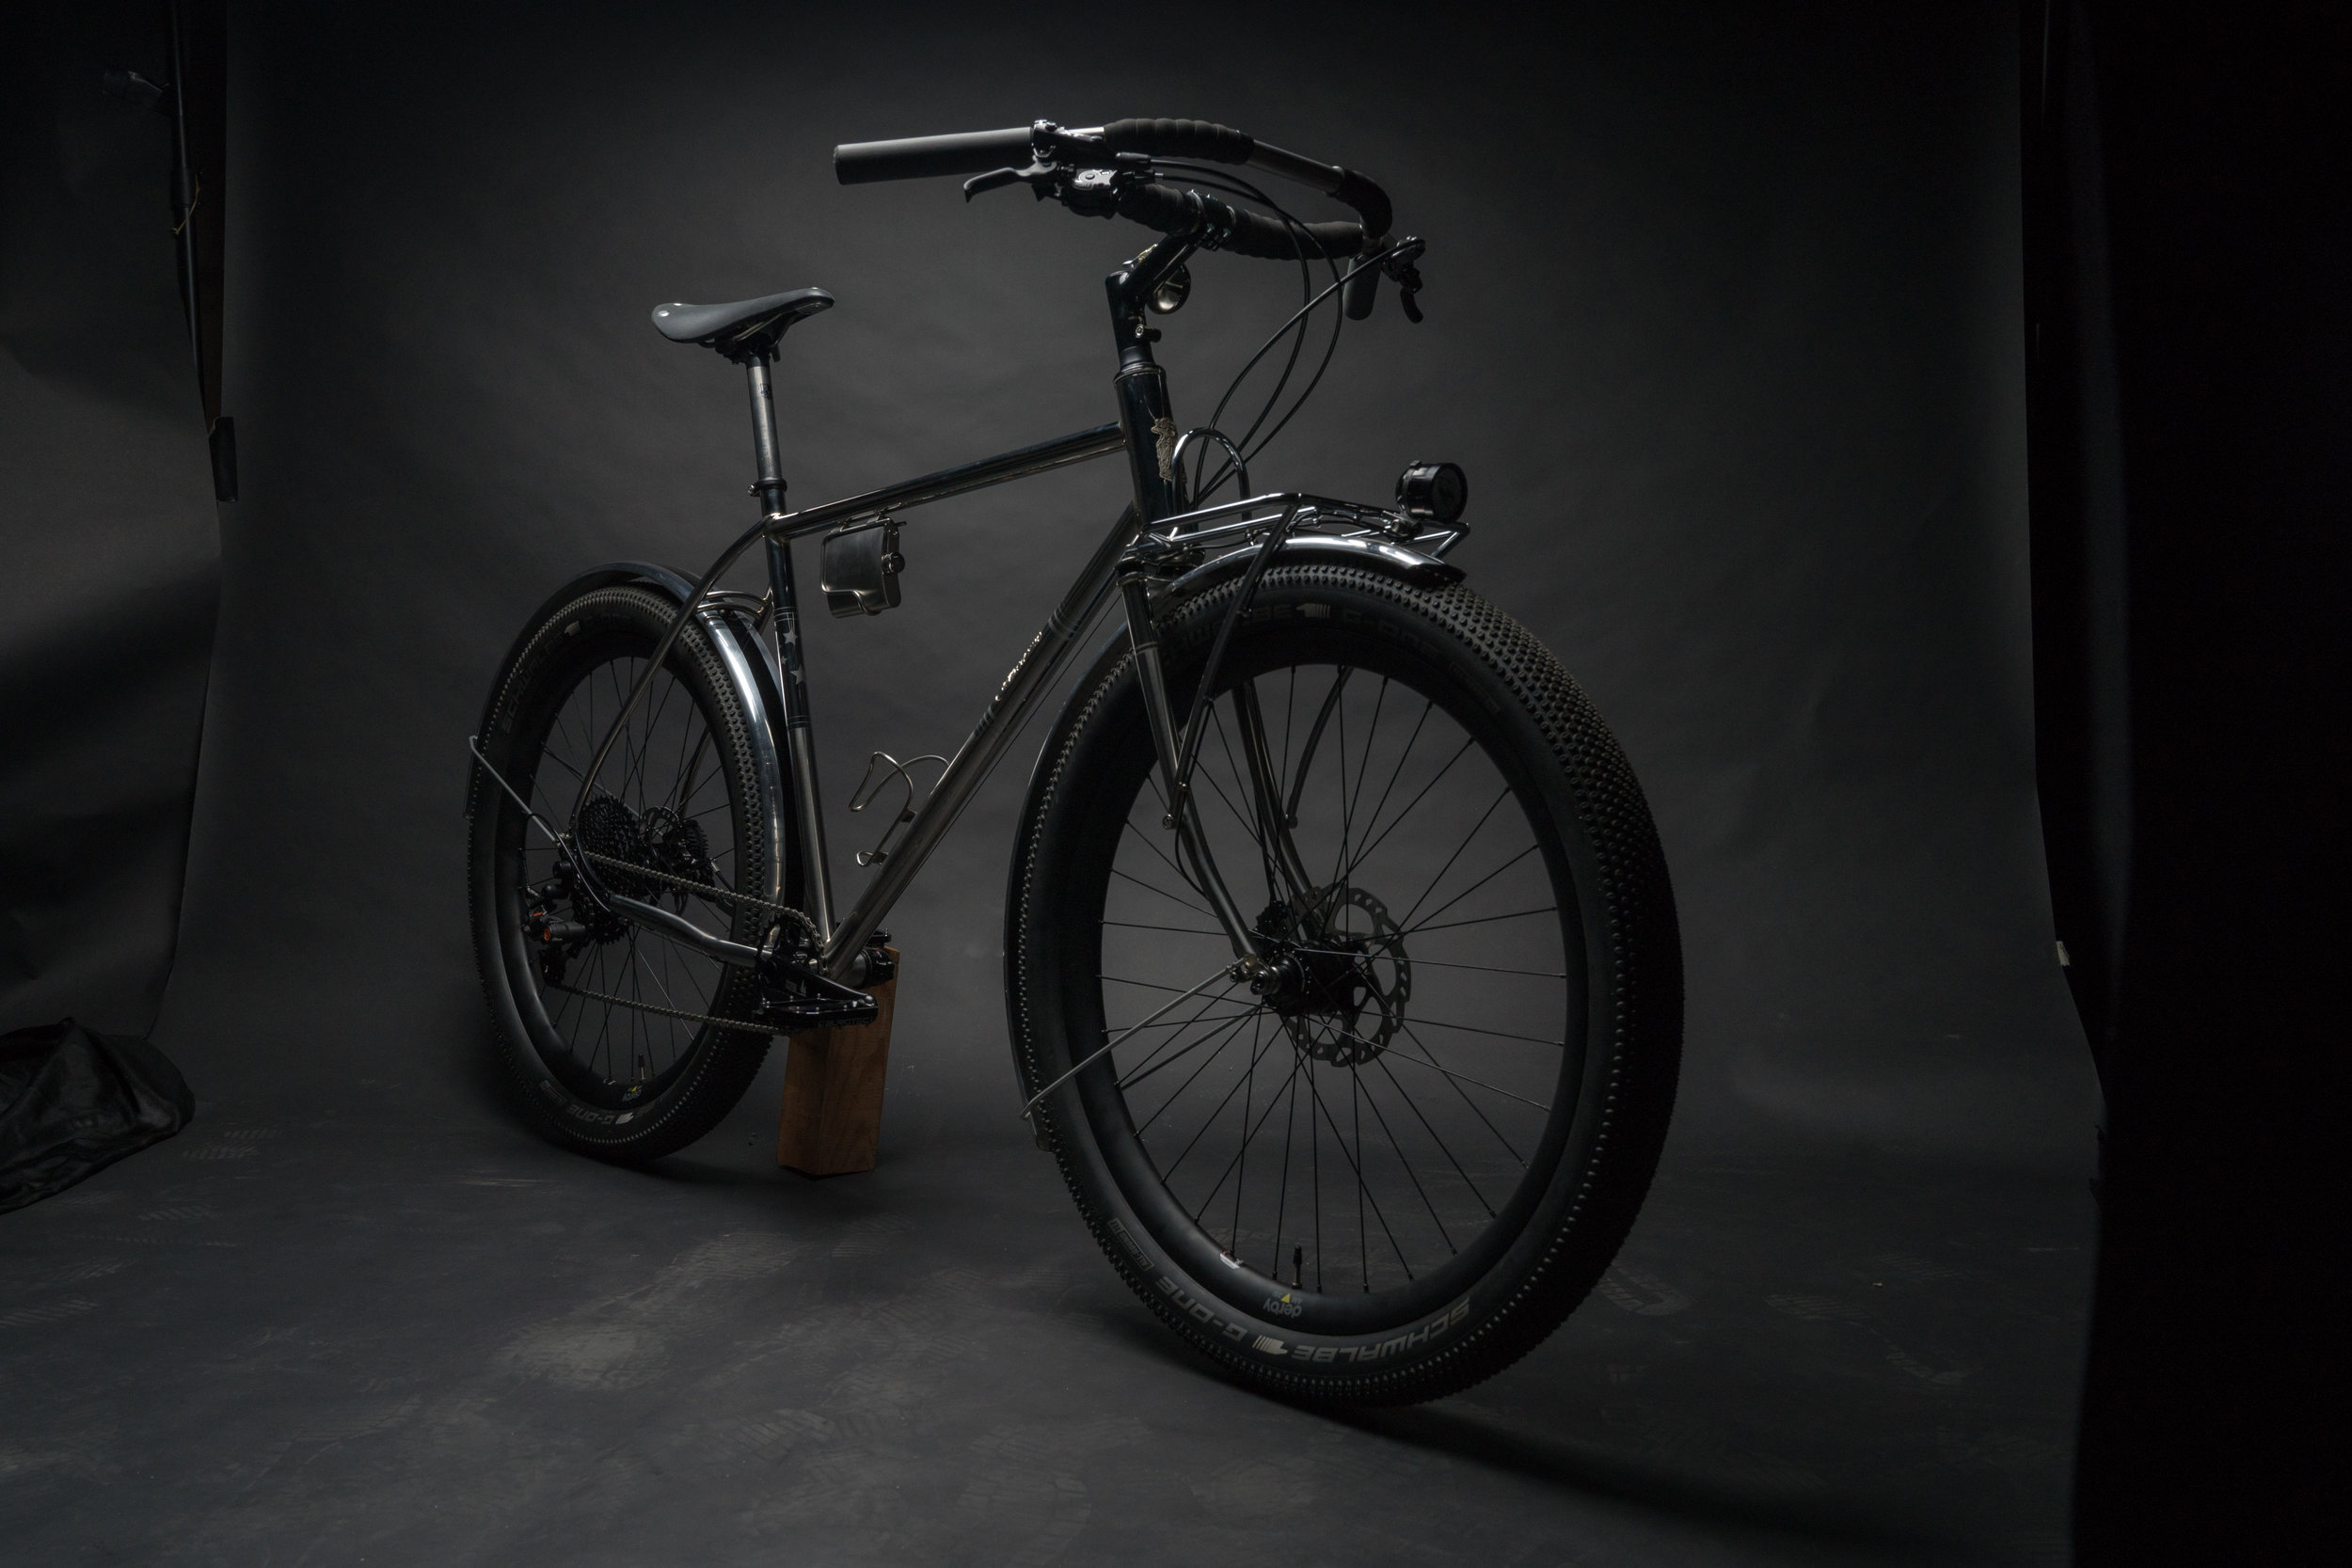
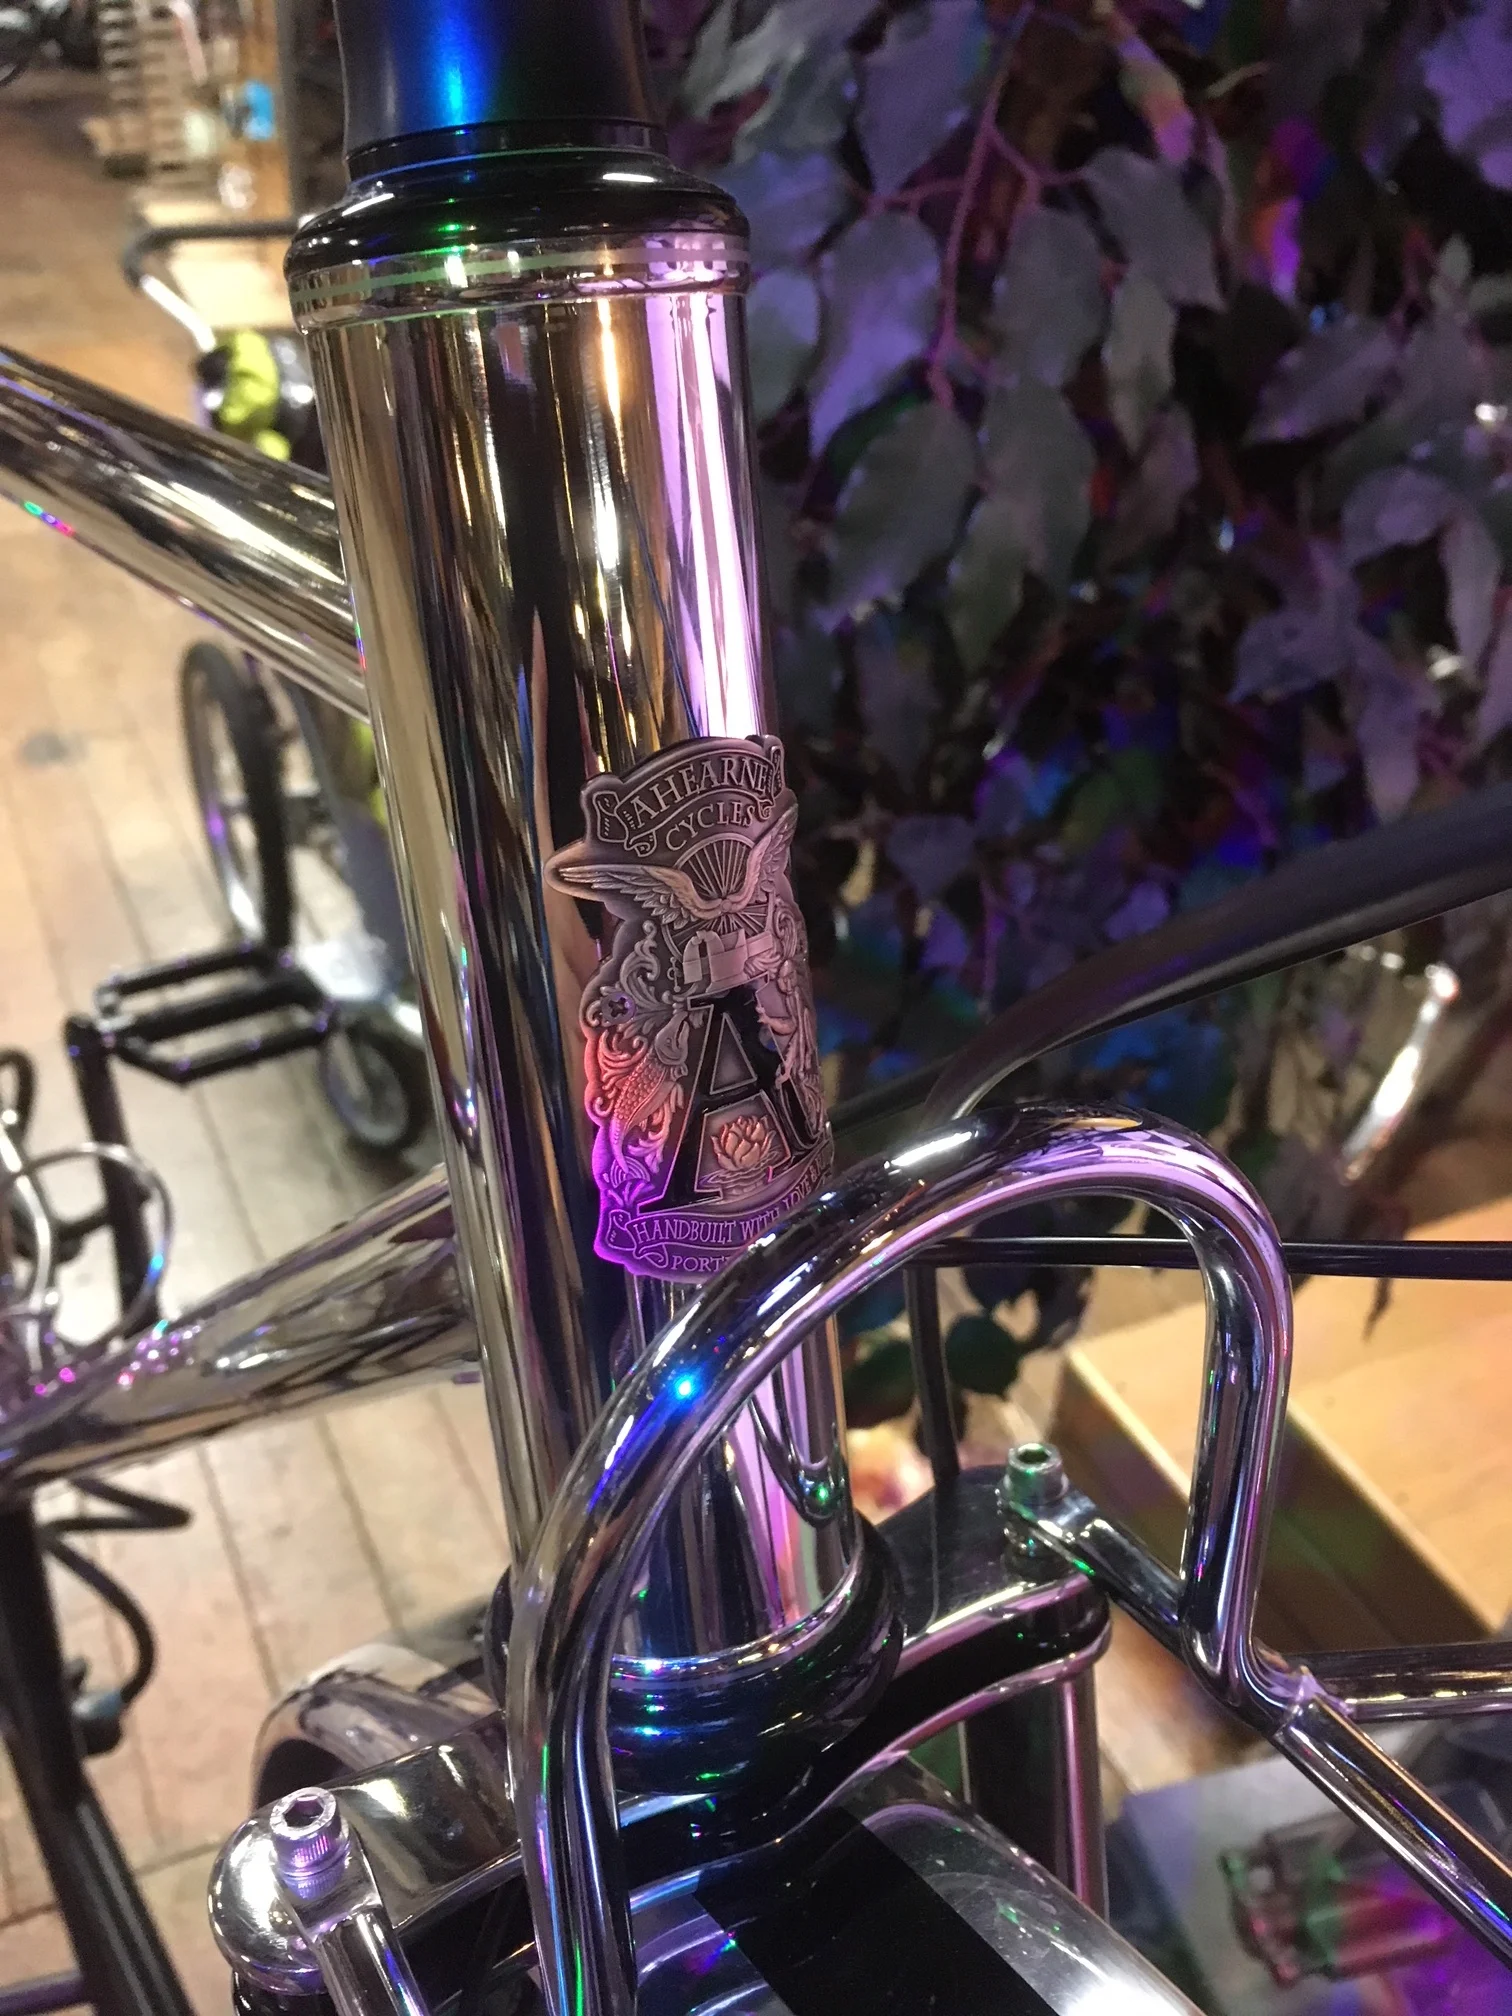
My bike company was now called Ahearne Cycles. 

Written By Hand

Joseph Ahearne3 Comments
IMG_4838.jpg

One thing you might not know about me is that when I sit down to write I often begin with this weird old method of putting a pen to paper. Maybe it seems archaic, but for me it works. I hand write the words, think about them, maybe scribbled edits, and then I transcribe them onto my computer. I guess it makes sense, because I seem to be the kind of person who uses his hands to make stuff. Like a lot of things in my life, there’s a story behind my preferred writing method.

Once upon a time I wrote a lot of letters. I was a traveler, meaning, I rarely stayed in the same place for more than a few days, weeks, months. I lived like this for a lot of years — you probably didn’t know this about me, either. I lived as cheaply as I could, and I’ve done a lot of jobs, lived in a lot of places — Portland, Seattle, New York, Kansas City, Boulder/Denver, New Orleans, Texas, Alaska, New Haven, and then in Ireland for a year, mostly in Galway; Barcelona for a few weeks; a couple of years in Italy, mostly in the town of Padova. I’ve also spent a bunch of time in Mexico and Central America. Just wandering, mostly. It’s a long story, which, I’m getting to it.

This was about a dozen years of my life, and for the first few years I hadn’t even heard of email (yes, I’m that old). I don’t remember exactly what year it was that I got my first email account, sometime in about 1995 or ’96. I wasn’t necessarily slow to take to it, but there weren’t often internet cafes in the places I went. In fact, my preference was to go to places where there wasn’t even dependable electricity. The way I kept in contact with people, mostly, was through letters. It made sense to me, because all I needed was a notebook, a pen, an envelope (which, in a pinch, I could make one), a stamp, a friend with an address to whom I could send it.

This was also before digital cameras, and I had some interesting ideas about photographs. I told myself (and others, if they’d listen) that I carried all the images I needed in my head. I said that cameras were just laziness, an excuse not to pay close attention to what you were looking at. I argued that if you exercised your mind, and looked carefully you wouldn’t need a camera, that memory is only as strong as you make it, and only functions well if you use it. I thought remembering things was like exercise, like you could take memory to the gym or something, force it into shape by doing reps, squats, crunches. I was kind of a dick about it. It was a bull-headed, pre-Instagram notion that I’ve mostly gotten past. I see what my point was, but still. I’ve learned that if you make yourself unlikable people probably aren’t going to listen to you. And besides, age has taught me about memory loss, and what few photos I have of my traveling days, I cherish, wishing I had at least just few more.

But so instead of photos I wrote letters. And one of my goals with letters was to use words to describe the scenery. Being like any other young traveler, I was searching for myself as much as I wanted to learn about this planet on which we live, its people and places. I was very existential, so a lot of the landscape I described in my letters — too much, I’d say — was located on the inside of my head.

The important point here isn’t that I may have been a crappy, self involved writer. What’s important is that my thoughts were transformed into words on the page, and these pages were artifacts, whether I thought about it this way or not. I think these letters were my first real practice of hand making something that I shared with others. And I like to think I got better at it over the years. In any case — I think this is the same with any practice — the more I wrote, the more I learned how to write. And the reason I kept doing it was, first, because I enjoyed it. Not always, but in my best moments I took a lot of care in the writing, and I mean a ridiculous amount of care, and I did learn that when I really put myself into what I was writing it maximized the joy I got out of it. And I’d like to think that it was these careful letters that my people connected with most, got the best imagery from, the most accurate portrait of how I was, where I was, and who, in whatever crazy situation I was in. Sometimes, but not always, I got it right.

The practice of writing by hand has stayed with me. I think the reason I still do it is that I’ve learned, over all the years, how to slow my thoughts enough that my hand can grab hold of their wings and lay them on the page. There’s more to it than that, of course, and it goes the other way, too: The speed of my hand helps rein in the spastic nature of my thoughts. It gives them some parameters so they’re not bouncing all over the place. If you’ve ever read anything about Buddhist philosophy you’ve probably heard mention of the concept of ‘Monkey Mind’. I feel like this is about the best metaphor for my thoughts — they jump around, get into things, are rabidly curious and impulsive, toss stuff aside, break the delicate things, swing from the rafters, eat all the cookies, crap on the counter and then run off, etc..

IMG_4842.jpg

The image of the monkey on my head badge was taken directly from this concept. It’s a symbol of all that runs wild in my head, but do you notice how calmly the monkey sits? And that piece of his own tail in his hand? I like to think of it as a symbol of him holding a pen, of him writing with his own body, a way of recording himself, his stories. Although, it could be that it’s a pacifier of sorts: Holding onto a piece of himself as a reminder that he exists. But come to think of it, is there any real difference?

The forced effort of sitting with a pen can help calm my erratic thoughts. It gives them a job to do; it allows freedom through some sort of discipline — I can write about whatever I want to write about, but the deal I’ve made with myself is, if I’m going to make the effort, then I don’t want to write gibberish. If I translate my brain’s erratic mess directly to the page, if I could write or type at the speed of thought, there wouldn’t be anything worth reading. It’d be like a Rorschach blot, just a splash of language without any through line. So my hand writes as fast as it can and still be legible, and my mind slows the language down enough to be comprehensible, and somewhere in the middle the twain shall meet, and throw a little party.

Pinion On Tour

Joseph Ahearne3 Comments
Pinion On Netarts Bay

Pinion On Netarts Bay

There seems to be a lot of curiosity about the Pinion system.

I’ve recently received several questions from people wanting to know how it functioned on my last bike tour. A couple of weekends back the weather looked promising and Brian and I decided to ride the Trask River Route to the coast. We both have Page Street Outback touring bikes, and we put our bigger, knobby tires on, because most of this route is on gravel, and some of the roads are fairly remote and rocky and unkept. 

A quick run-down of the bikes we rode:

My Page Street has the Pinion 18 speed gearbox on it- the P1.18 - and a belt drive system by Gates Carbon Drive

Brian’s bike has a 1 x 11 chain drive with a Gevenalle shift adapter. He’s got a Box Components derailleur and an 11 - 46T rear cassette. His front cog is a 32T on White Industries cranks (best cranks and rings in the world). We both have Velocity Blunt SS rims, Schmidt SON hubs up front and White Industries CLD or XMR rear hubs, Paul “Klamper” disc brakes. I ran Continental XKing 27.5” x 2.3” tires, and Brian rode Schwalbe “Thunder Burt” tires, both of us riding tubeless. 

I only say all this because in many ways our bikes are similar. The main difference being in the drive train: Gearbox vs. Derailleur.

Side Note: Tubeless Touring

Toward the Clouds

Toward the Clouds

I haven’t done much touring on tubeless tires, but after what riding I’ve done, I’m pretty much sold. I’ve been carrying a spare tube with me for a few months now, thinking if I do get a flat, I’ll just put in a tube. But I haven’t yet had any reason to use it. A couple of weeks ago I was on a ride and from the shoulder of a busy country road something punctured my tire pretty seriously. I heard the pop and hiss and as I rolled to a stop I found the hole. Whatever had caused it was no longer lodged in the tire, and I rolled forward until the hole aimed down towards the ground. Sealant bubbled and squirted out for a bit, slowed and then stopped, and I stared at it like, “Uh-uh,” disbelieving a tire could heal itself. But sure enough, even when I refilled the tire with air, there was no more leak, and I was riding again before my leg muscles had a chance to cool down. It almost felt like cheating. That was a first for me, and watching it in action was enough to convince me to keep riding tubeless. 

Ride With GPS: Pay Attention!

Despite the Pain, Our Surroundings Were Beautiful

Despite the Pain, Our Surroundings Were Beautiful

I won’t go into too much detail about the route we chose. Let’s just say Brian and I took small mis-steps that had massive consequences. For example, if you’re going to use RidewithGPS.com (which, by the way, I HIGHLY recommend), and download a pre-existing route, do yourself a favor and look closely at the elevation profile to assess how much climbing you’re going to do, and check this before you start riding up the first hill. Make certain the route you’ve chosen wasn’t designed out of maliciousness, spite, or created by some maniacal jaw-gnashing EPO-fueled ape as a form of self punishment, S &/or M, or straight up self destruction.

Side note: If you’d like to get a look inside the world of athletic doping, the documentary “Icarus” is very insightful.

You can tell I’m still bitter about this ride, and yet there’s no one to blame but myself. I rode the Trask River route several years ago with a couple of friends, neither of whom are monsters on a bike. We had a great time pedaling through the Tillamook forest. We climbed, we camped by a river and filtered our water, we were deep in the woods, felt as though we’d really gotten away from things. I remember it being a hard ride, and when we’d gotten back to town I felt satisfied, a sense of accomplishment, like I’d done something hard and I’d made it and it was good. 

Route & Elevation Profile Comparison

Route & Elevation Profile Comparison

Not so this time. It was a completely different route. There are so many old logging roads through the hills, and the route we chose, instead of one, had two major climbs. We only actually rode beside the Trask River for maybe a mile, and then we were headed up once again. Over two days we did about nine thousand feet of climbing, which is twice as much as we did the last time I rode this. That’s no joke. And the worst part, in my opinion, was that some of the roads surpassed 25% grades, so that there was no possible way to ride. Maybe on a mountain bike, with fresh legs and carrying nothing but a water bottle, but for us on loaded touring bikes it seemed impossible. The second day it took us four hours to go just ten miles, much of which we had to hike up while leaning straight-armed into our handlebars and pushing our bikes. My suspicion is that the insane clown who designed our route had done it on a motorcycle. Or maybe I’m just way weaker than I like to believe. Worn out, old, feeble. This is what I was telling myself walking up these hills: I ought to start building lugged walkers instead of bikes. I’ll call my new business Meek or Craven or Hardly. I like that: Hardly Walkers.   

Going Up: A Speck of Brian on the Road

Going Up: A Speck of Brian on the Road

Enough of that, though, and back to point: the Pinion.

For all the miles we could ride, I can’t speak highly enough of the Pinion system. I’ve got a 32T cog both in the front and the back, so it’s a 1 to 1 ratio. I felt like the gearing for this sort of riding was perfect. My lowest gear made it possible to climb anything that was climbable, and on descents I never felt like I’d run out, or spun out. If I was strictly road touring and on slick tires I might want a hardier ratio, and would likely put a 30T or even a 28T cog on the back. Maybe. But for this sort of demanding off road riding on big tires and lots of steep hills, I would not change anything. 

Pinion, Belt Drive, Dirt

Pinion, Belt Drive, Dirt

One of the best aspects of the Pinion 18 speed for touring is the gear options. Not just the high and the low, but everything in between. Brian road the 11 speed cassette, and his lowest gear wasn’t as low as mine, his highest wasn’t as high, and he noticed right away that the biggest draw-back to his gearing were the large jumps from one gear to the next. He even said at one point that he kept wishing he had a gear in between the one he was riding. He either had to slow down to match the gear, or push harder to try and catch up to the next. The increments between gears on the Pinion never left me feeling like I lacked what I wanted. There was always a gear that just about perfectly fit what I was riding. 

Brian’s Bike Is Prettier Than Mine, but…

Brian’s Bike Is Prettier Than Mine, but…


The comparison between an 11 speed cassette and the Pinion P1.18 isn’t quite fair, though, because each were designed to perform very different tasks. The 1 x 11 was more intended for cross country mountain biking; the broad range and big gear jumps more than adequate for quick transitions between downhill and uphill. For touring, though, Brian found that he just didn’t have enough gear options. He said that after this tour he’d be switching to a double up front, so that he can go lower in his small gears, and he will change the rear cassette to something with less range, maybe an 11-36 or an 11-34, so that the jumps between gears aren’t so severe. Which makes sense to me. We’re always experimenting, looking for that best possible set-up. 

My One Criticism for the Pinion & Belt Drive System, If It Can Even Be Called That:

The one down-side to my drive train revealed itself on this trip. With all the dust from the gravel roads my belt started making sounds where it interfaced with the cogs. As I climbed, introducing more torque, it sounded kind of like a small, hungry bird, incessantly squawking to be fed. It wasn’t a terrible sound because it wasn’t loud, but it was there, and because it was friction based, it could be prevented, or fixed. I squirted a bit of water on the cogs and belt and that helped for a short while, but I think the wet attracted more dust, so that as it dried the sound returned, maybe a bit louder. The sound came mostly on the first day, when it was dry and sunny. The second day, as we got into the clouds we had a light, misty rain, and the sound disappeared. 

What I hadn’t done before this trip was to spray my belt with conditioner. You can buy a can of belt conditioner from any auto parts store. Made for fan belts and alternator belts etc., it’s a silicone based spray that reduces friction and keeps a belt quiet. I’ve been riding this bike for three years now, and this would only be the second time I’ve needed to condition the belt. 

Brian, on the other hand, forgot to bring chain lube, and after the first couple of hours on the first day his chain became pretty raspy, and with all the dust his shifting became less than optimal. With the Pinion, my shifting never faltered or hesitated at all. And to be honest, if this is the worst I can say about the Pinion drive train, that the belt can squeak when dusty and dry, then there’s really not much wrong. That’s pretty small.

Above the Clouds

Above the Clouds

During and after each tour I do on my Pinion bike I become more convinced of its usefulness and functionality, and I further appreciate how easy it is. There’s very little to think about, or to worry about, or to maintain. The Pinion pretty much always has the right gear for the moment, and the shifting feels positive and solid. 

Please don’t think I’m over the bike chain, though. I’m a traditionalist, too:

Break Time. Again.

Break Time. Again.

There is something very satisfying to me about maintaining a chain-driven bike and keeping it running tip-top. There’s a sound and a feel that you become attuned to and that is unique to each bicycle. It requires the rider use a certain finesse when changing gears, a way of paying attention and interacting with the bike that is a sort of dialogue, and gives a very personal relationship between rider and machine. And you know, just by the way it talks to you, when your bike wants adjustment, cleaning, and love. Lucky for me I have another bike, a bike with a chain that I ride quite a lot, satisfying that part of my cycling life.  

The Pinion bike is different.

The Final Mile Was the Most Beautiful

The Final Mile Was the Most Beautiful

I don’t like to compare them, saying one is better than another. Each of my bikes is a tool that I use and care for. Bikes have a lot of tradition and romanticism and story around what they are, what they do. But in the end, what a bike is, and what it does can’t be separated: In it’s simplest form it is a tool that we use to help us get from this place to that place. Every well made tool has its function. It shines and is a pleasure to use when used as it was intended. And, better still, there is room for everyone in this. Everyone’s experience is subjective, so that what I like about one type of bike may not match what you or someone else has found works for them. It’s not a question of who is right or wrong, it is a question of what your experience has taught you. 

For me, for the kind of riding I do, I’ve found the Pinion to be a tool that does its job very well. When I’m touring I feel like I’ve got enough to think about with my route and where I’ll get food and fill up my water and where I’m going to sleep and how I’m going to make it over this next ass-kicking hill. I really don’t want to fuss over my bike if I don’t have to. If it will function well and continually and give me what I need to get from this place to that place without too much hassle, then this concern minimized, and it leaves more room to enjoy other aspects of the trip. Or to brood over my lousy choice in routes. 

But that’s another story. 


Stainless Steel Bicycle - A Construction Story

Joseph Ahearne9 Comments
Ahearne_Stainless_Studio_VanWeelden-1.jpg

A lot of bikes I build have details that are unique; one-off design features that may or may not be visible at a glance. And then there are, periodically, bikes I build that are striking at a distance, and just seem to light up as you come in for a closer look. This is one of those bikes. 

_DSF9478.JPG

A lot of people have come through the shop over the past eight or nine months, and seen this bike at various stages in the build process. Without seeing it first hand, or building a stainless steel bike for yourself, it's hard to fathom the time and labor involved in its construction and in the finish work. I may build a stainless bike once every five or so years. It's not an easy material to work with, both physically, and spiritually. 

Ahearne_Stainless_Studio_VanWeelden-16.jpg

For this bike I used mostly Reynolds 921 work hardened stainless steel tubing. I chose this tubing because the walls come slightly thicker than much of the other stainless tubing available. Running 27.5" tires at almost three inches wide, this wasn't meant to be a race bike, so weight wasn't the first concern. I wanted stability and comfort. And too, putting a rack on a bike stresses a frame differently than having just a rider. 

Ahearne_Stainless_Studio_VanWeelden-17.jpg

The man who commissioned this build is relocating to Colorado, up in the mountains. He told me he wanted something that could take all the various conditions that he might encounter: Roads, single track, snow & ice, dirt, gravel. We talked it through and he said, "I want something special," and he gave me license to interpret that in my own way, limited only by the parameters of what the bike would need to do, and where it might go. I told him it would be a long journey, and I'm not sure he believed me at first. Or, like many others, he just wasn't sure exactly what this sort of "long journey" would look like. How long, really, could it be? 

Ahearne_Stainless_Studio_VanWeelden-14.jpg

To begin, I had to gather the materials. Part of the problem was, nobody had yet fabricated in stainless steel some of the things I needed for the build. I had to remake the fork crown plates with enough width to fit the tires. The chain stay yoke and front dropouts were made only in mild steel or titanium by Paragon Machine Works, and I had to call them up and beg for them to remake these parts in stainless, which maybe sounds easy, but because of the material, everything has to be reworked and retooled for the job. 

Ahearne_Stainless_Studio_VanWeelden-21.jpg

The first thing I did, after gathering all the materials, was to put together the initial sub assemblies: Seat tube to bb, dropouts to fork legs, and dropouts to chain stays, assemble the chain stay yoke. Then, before I ever cut the first tube, everything was pre-polished. The fork crown pieces, fork legs with dropouts, chain stays with dropouts, the seat stays, bottom bracket & seat tube, head tube, yoke, and all the main tubes. All of it brought to a mirror finish. Then I brazed the crown plates onto the steerer, and re-polished the plates. Then put the fork legs into the crown, and re-polish. Then braze ons, and I installed the fender, and set up to build the front rack. I waited to do the final polish until after the rack was finished. 

Finishing the rack, I moved on to the front triangle. First thing I did was braze on the Ahearne logo. This is the closest I come to making jewelry, since the brazing is so delicate. I have to turn my torch low, and recruit the help of whoever may be in the shop at the time to hold the fragile piece against the tube. You can see a time-lapse video of the process in the "video" section of the website. 

Logo on, I then drilled and installed internal routing for the rear brake housing. With this it was time for to re-polish the tube, and assemble the front triangle. And a re-polish. Add chain stays to the yoke. Re-polish. Put yoke to bb, re-polish. I hand bent the seat stays using the "Roberto" double fork blade bender by Anvil Bikes. Bending seat stays in two planes is tricky, and then to slot and hand miter them correctly takes a lot of time. On this bike that I had to do two sets -- the first set of stays was practice, and taught me how to bend and miter them correctly. Sometimes that's what it takes. I got that first set all finished, but realized I just didn't have the tire clearance I wanted, and this was not a bike to cut corners on. Everything was perfect, except I just needed about 5 mm more on each side to feel like it was right. So I bought a new set of stays, and started the process of polishing, bending, slotting, and mitering all over again. 

The last step of the construction was to install all the bridges and braze ons. Then, at last, it was time for the final polish of the frame and fork. I made the rack from chromoly, so after it was finished and polished I sent it to a chrome plater for treatment. After the final polish on the frame, it was time to strategically mask around the logos, and on the seat tube, and to give it a very light bead blast to etch in stripes and mark off panels. I did this with the help of Black Magic Paint, and the use of Dave Levy's blasting cabinet (Thanks Rudy! Thanks Dave!). Black Magic also masked and painted the stripe on the fenders, filled in the fork crown and painted the stem. After etching stars and panels, I went over the lower part of the frame and fork with a white Scotch Bright pad, burnishing it very lightly to tone down the mirror finish and giving it a subtle brushed appearance. And yes, I wore white cotton gloves throughout all of this. 

Now it was time to install fenders, string up the internal wiring for the lights, and assemble the bike with parts. Much of this was accomplished with the help of Abraham of Abraham Fixes. I heard through the grape-vine that he recently became a father -- congratulations, Sir! With the bike now completed it was time to get some photos, which was way harder than I expected. I'm kind of a hack photographer, and I tried shooting the bike in several different settings, and with varying light levels, and had almost no success. Out of about 500 photos, I got maybe 6 shots that weren't terrible and washed out. I felt like this bike deserved better treatment, so I called in a professional, and Dylan VanWeelden took on the task. He basically had to make a black container around the bike, and to dim the lights way low. A majority of the photos you've seen here were taken by him, and many of them are still raw. I think you can agree, he did an amazing job of capturing this hard-to-shoot bike. I think a few of the shots are breath-taking. A big thanks to you, Dylan. 

The owner of this bike is moving to Colorado in the next few weeks, and asked that I wait to ship it until he arrives. A wood crate is ready at the workshop, and I'll be zipping it up soon. I was grateful for the extra time with the bike to get the photos, and also because it allowed me to put it on display. I wanted to give people a chance to check it out in person. I got ahold of Sky at Velocult Bike Shop (sadly, their business is now closed) and he agreed to let me keep it there for a month or so. Thank you Sky. 

The entire construction of this bike, including all the polishing and the final treatment of the frame, parts assembly, etc., took about six months. As a comparison, a regular, non-stainless version of this same bike would probably take me about two weeks to construct, would be at the painter for around a month, and would take a few days to assemble with parts. So you'll hopefully believe me when I tell you that I've had about a 12- 15% increase in my gray hair count over the course of this bike's conception and birth.

Ahearne_Stainless_Studio_VanWeelden-24.jpg

I love the craft of bike making, and if I didn't push my own boundaries sometimes, I'd eventually feel stagnant in what I do. But a bike of this magnitude takes its toll, as well: When I send this one out, I'll be sending out a piece of myself along with it. In a way, I think this is how a person like me stays in touch with the planet we live on, and how I search myself for my version of what it means to be alive. 

To see the complete photo set, please head to the Ahearne Cycles Flickr page. Thanks for reading, and I hope you've enjoyed it.